Onboarding Checklist
When starting to work with Datameer for the first time, an onboarding checklist guides you through the product features.
A welcome dialog opens and invites you to follow instructions for the first usage:
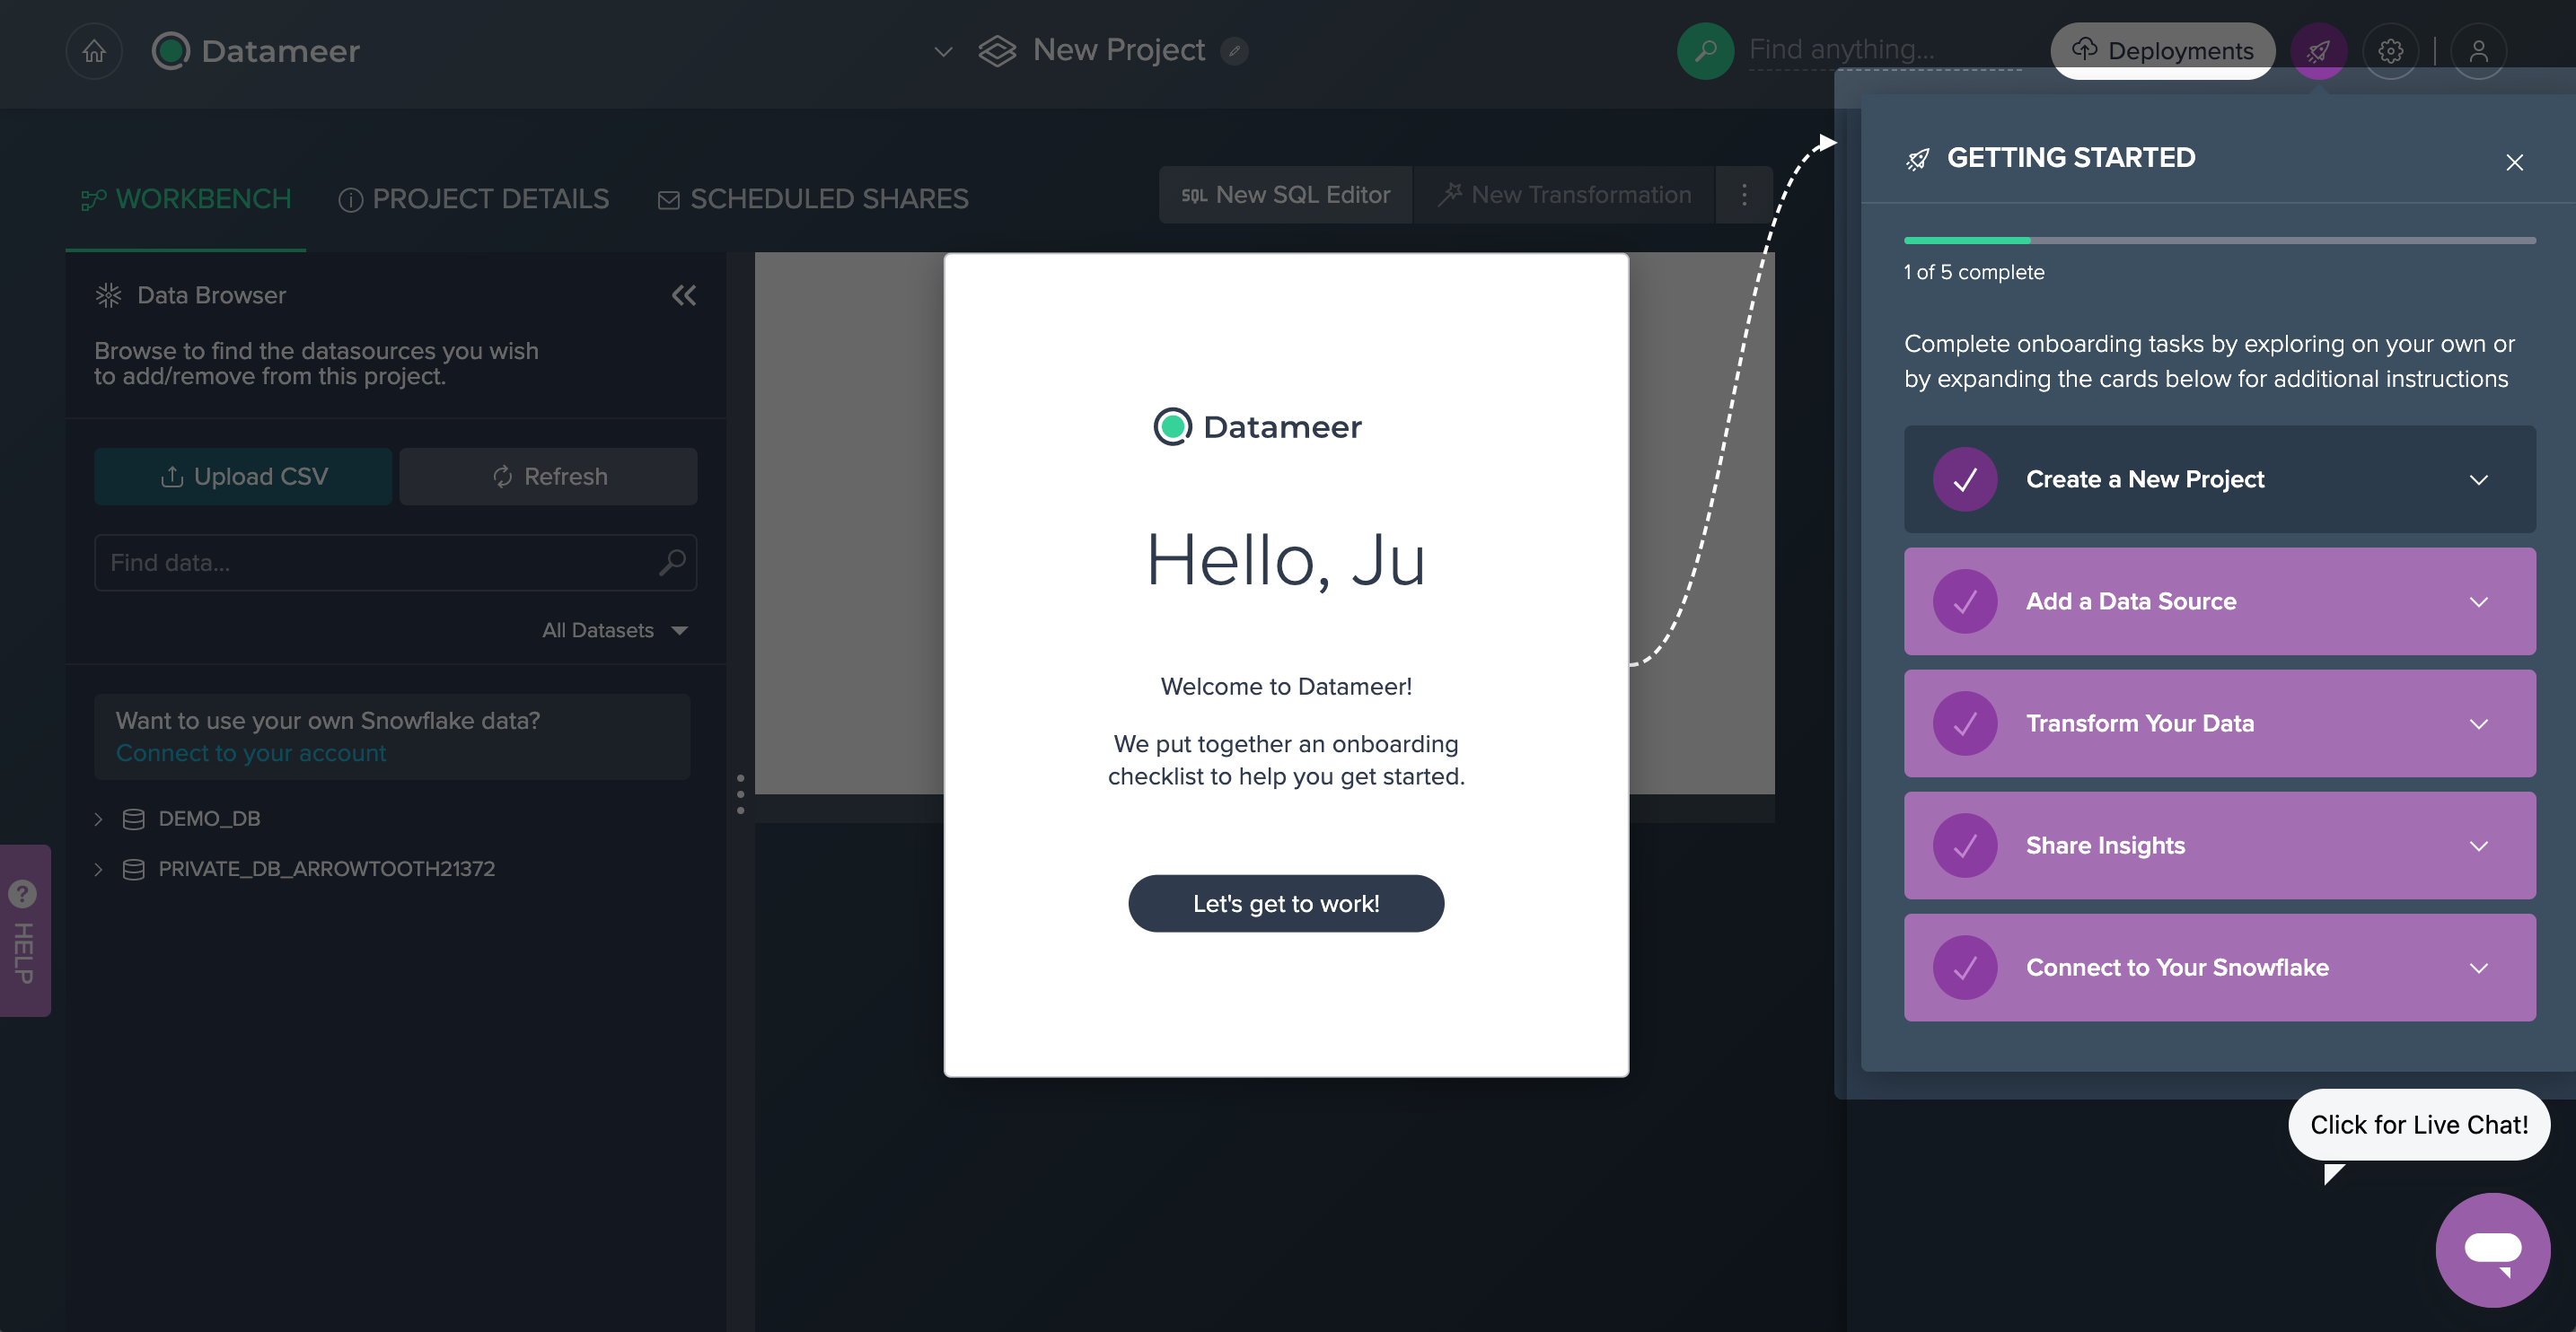
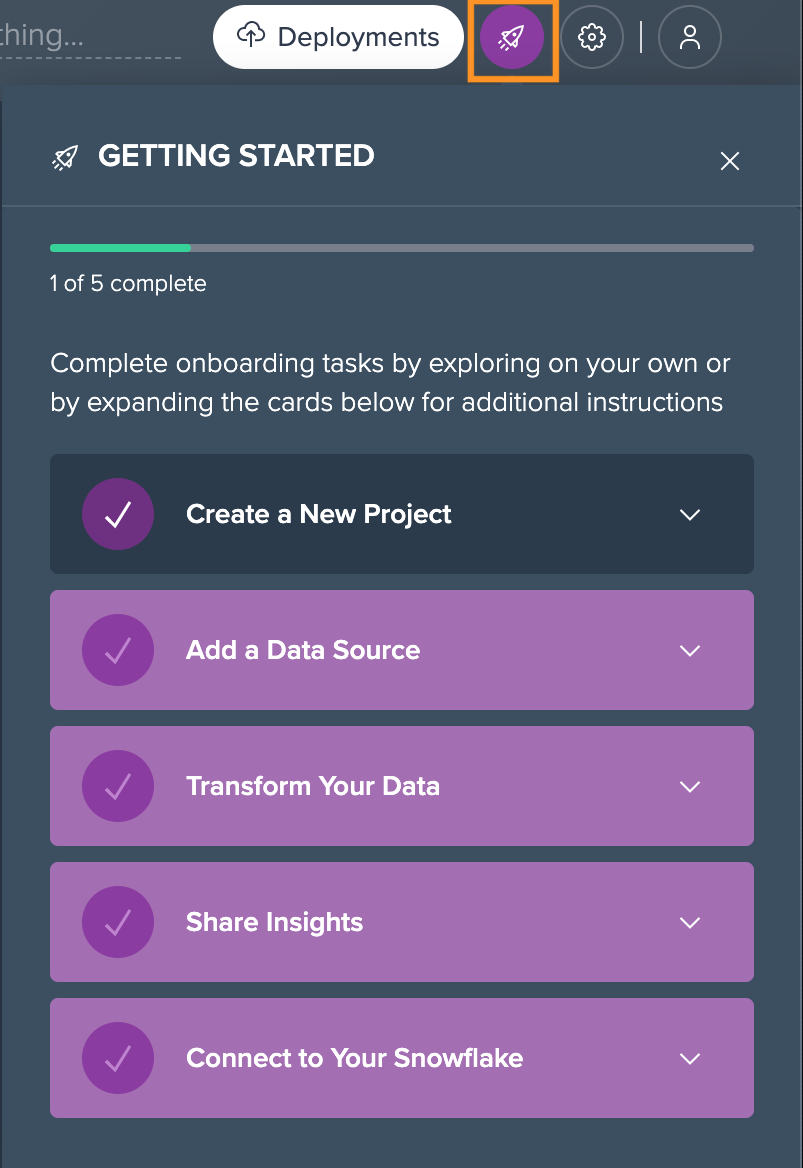
The onboarding feature can be hidden and re-shown via the rocket icon.
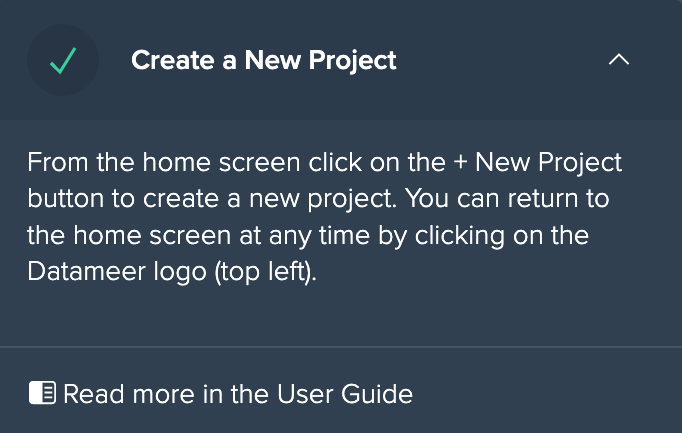
Create a New Project
The first step is to create a new Project. Projects can be created from the Datameer Home screen. You can switch between multiple Projects at any time by clicking on the Datameer logo on the top left.
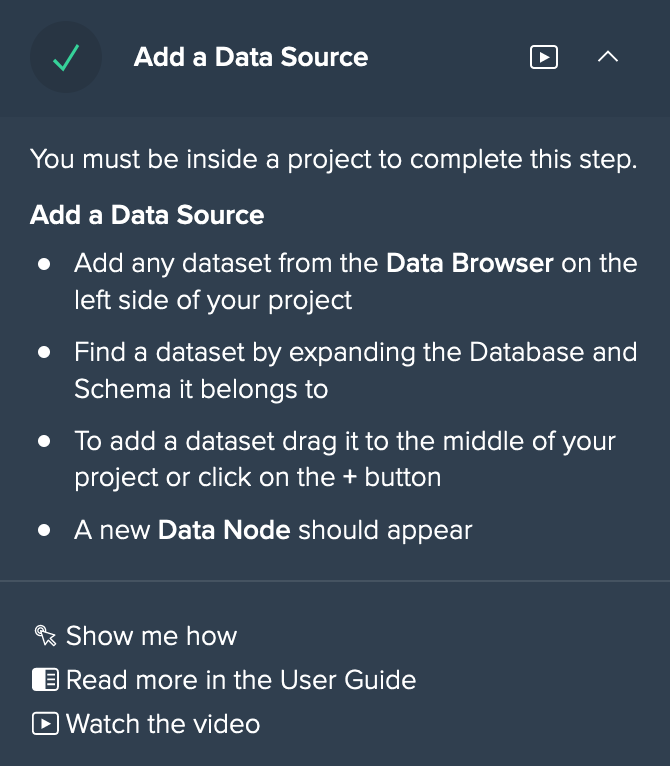
Add a Data Source
You can add any source data sets from the Data Browser into your Project.
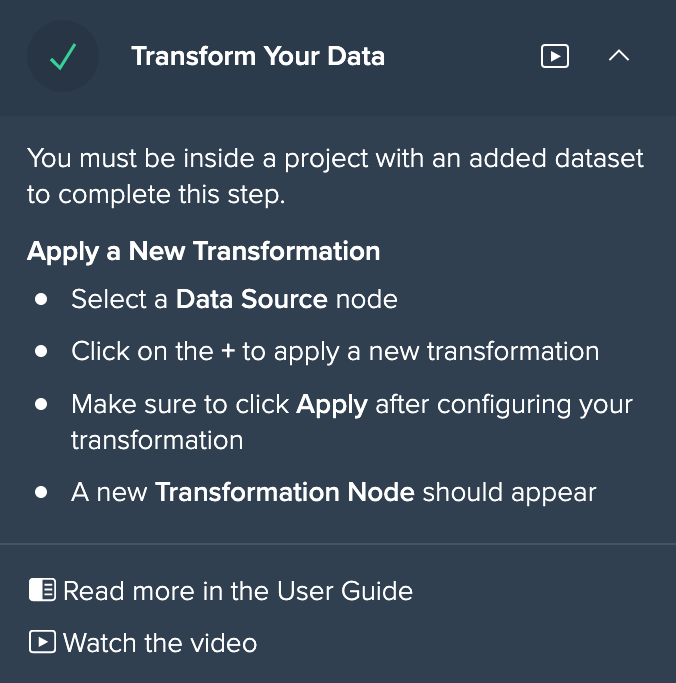
Transform Your Data
Operations can be applied to all source data sets as well as on intermediate data sets that have already been transformed. You can choose from no-code light data prep operations, such as FILTER, low-code operations from the Formula Browser or create SQL queries in the SQL Editor.
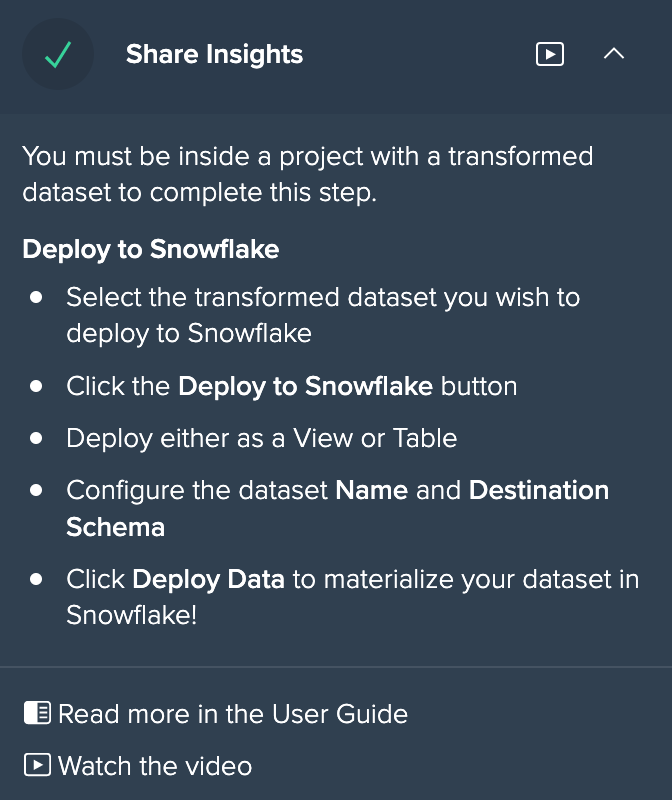
Share Insights
You either share your insights by deploying an intermediate data set to your Snowflake or send the data via email.
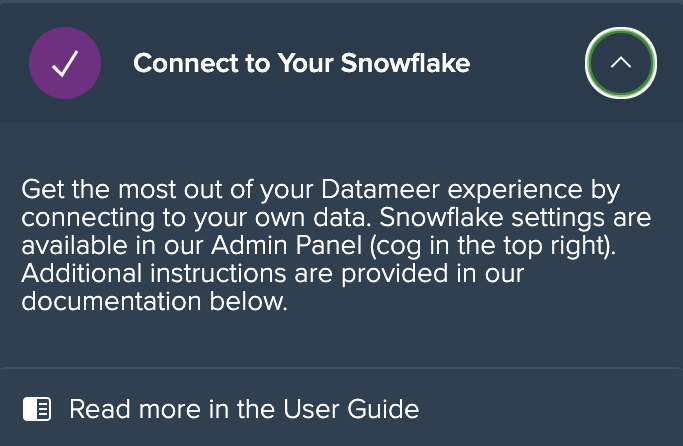
Connect to Your Snowflake
You can connect to your Snowflake account in the Admin Panel.
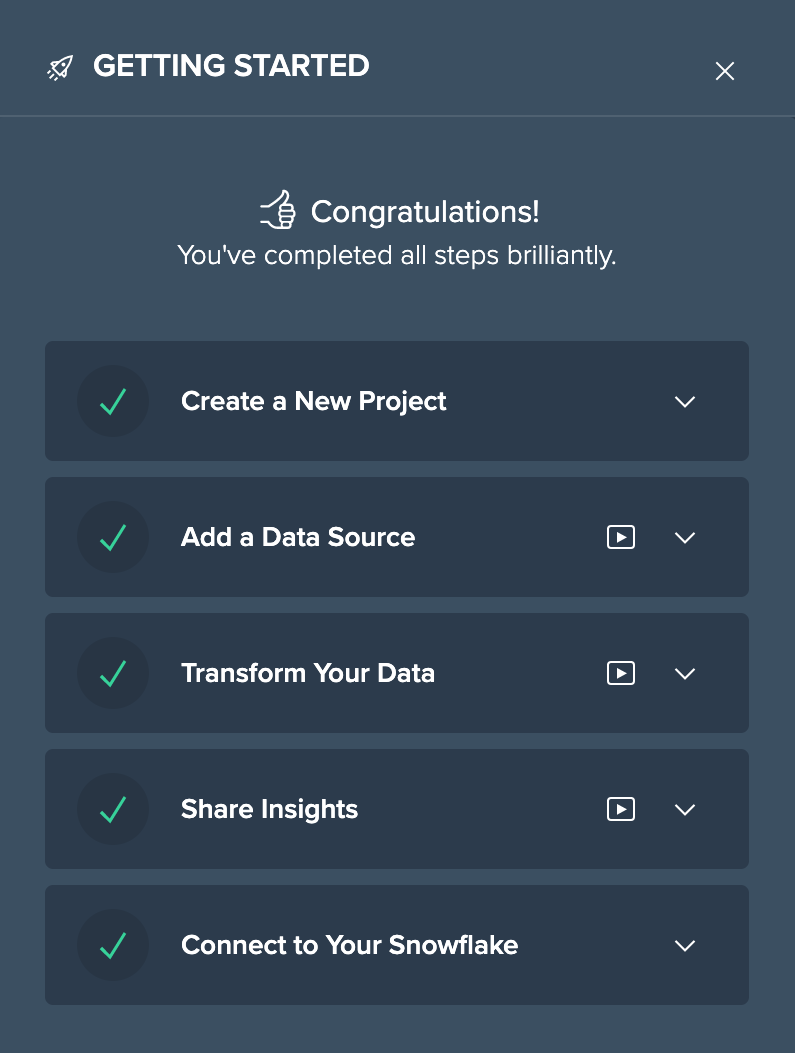
Complete the Onboarding
After completing all steps, a message is shown and you can close the dialog.