How to Handle Empty or Slow Previews with Node Caching
Problem#
When working with large amounts of data or complex Projects, the previews of the data can become sluggish or may not display any information.
Empty previews occur because, in order to provide a responsive experience in the Workbench, large input datasets are sampled. However, when filters or joins are applied to the data, the sampled dataset may not include records that match the filter or join criteria. Consequently, the previews may appear empty, making it challenging to verify the accuracy of those transformations.
Previews can also become slow when there are complex SQL nodes or a significant number of transformation nodes in the upstream dependencies of the preview being generated. Slow previews can significantly prolong the development process as it takes more time to validate the logic of downstream transformations.
To address these issues, 'Node Caching' can be used to greatly expedite the development cycle. This helps to reduce the likelihood of encountering empty previews and accelerates the calculation of downstream previews.
It's worth noting that 'Node Caching' currently creates temporary tables linked to the user's Snowflake session. These temporary tables are automatically removed when the session expires. If necessary, the user can recreate the cache. By using temporary tables, the accumulation of unused cache tables in Snowflake schemas is prevented.
Furthermore, cached nodes are utilized for preview and 'Explore' queries, as well as when creating downstream cached nodes. Cached nodes continue to be used even if there are changes to the dependent transformations or datasets upstream. Refreshing a cached node is a straightforward process that involves removing the cached data and recreating it.
How to Cache a Node#
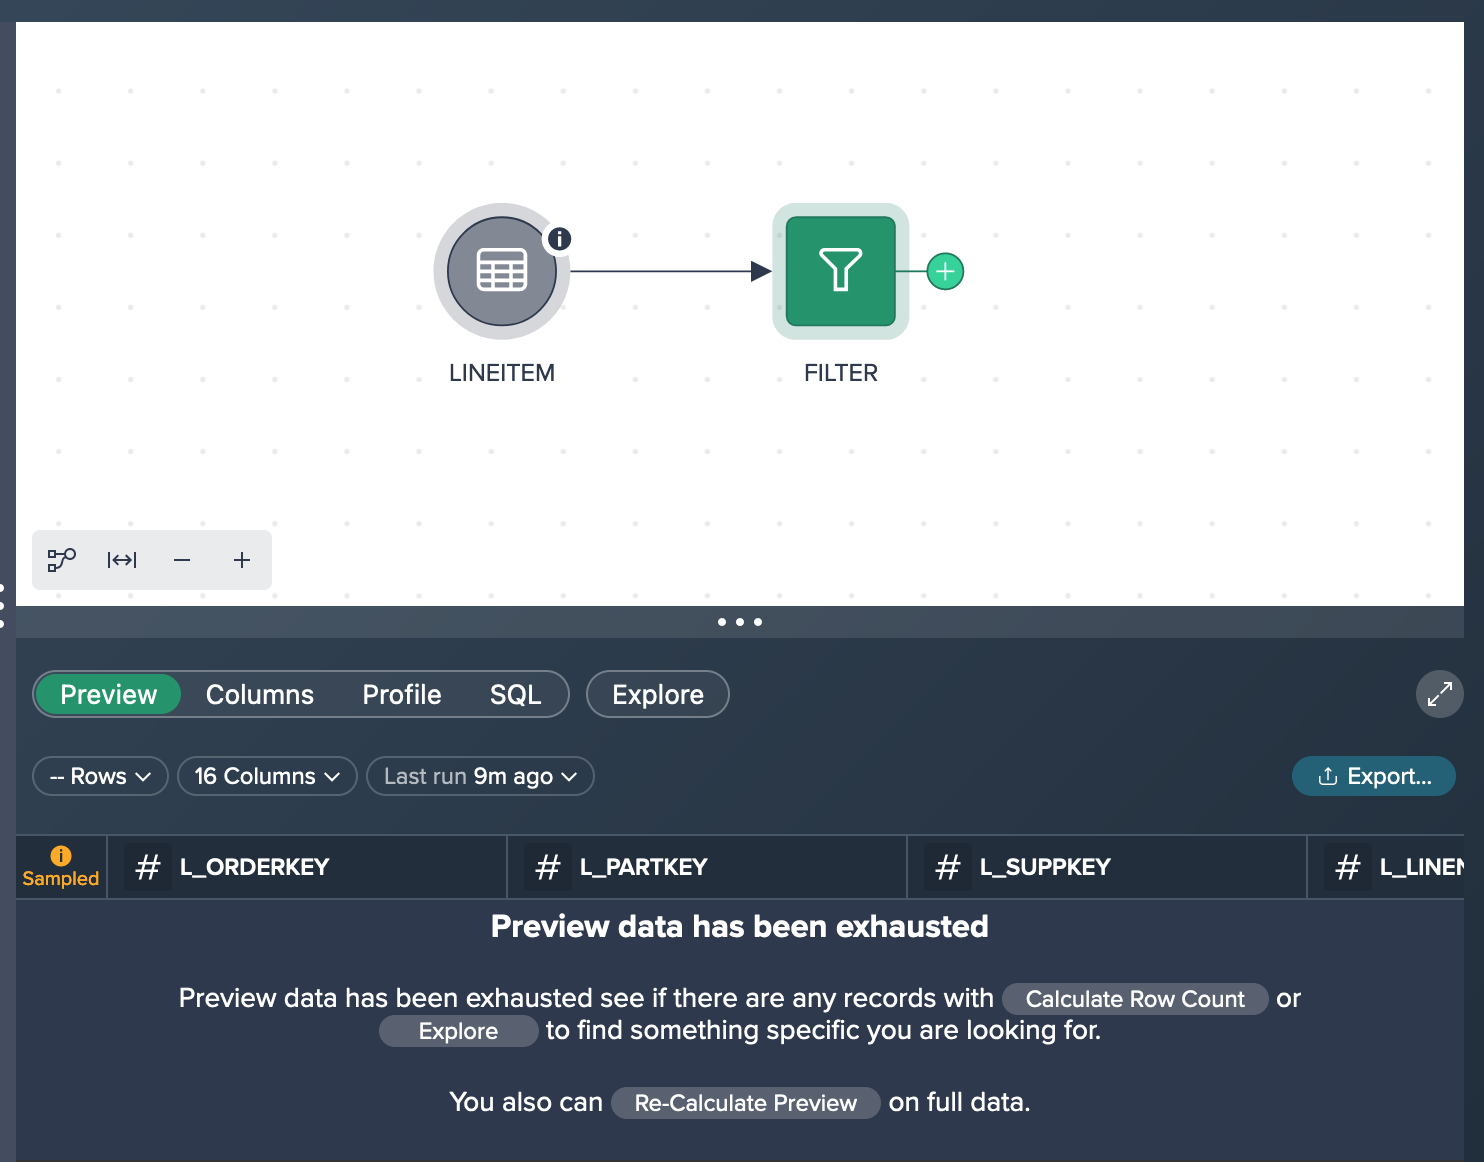
The initial scenario involves working with a large dataset that has a selective filter, resulting in no preview records due to the dataset being sampled.
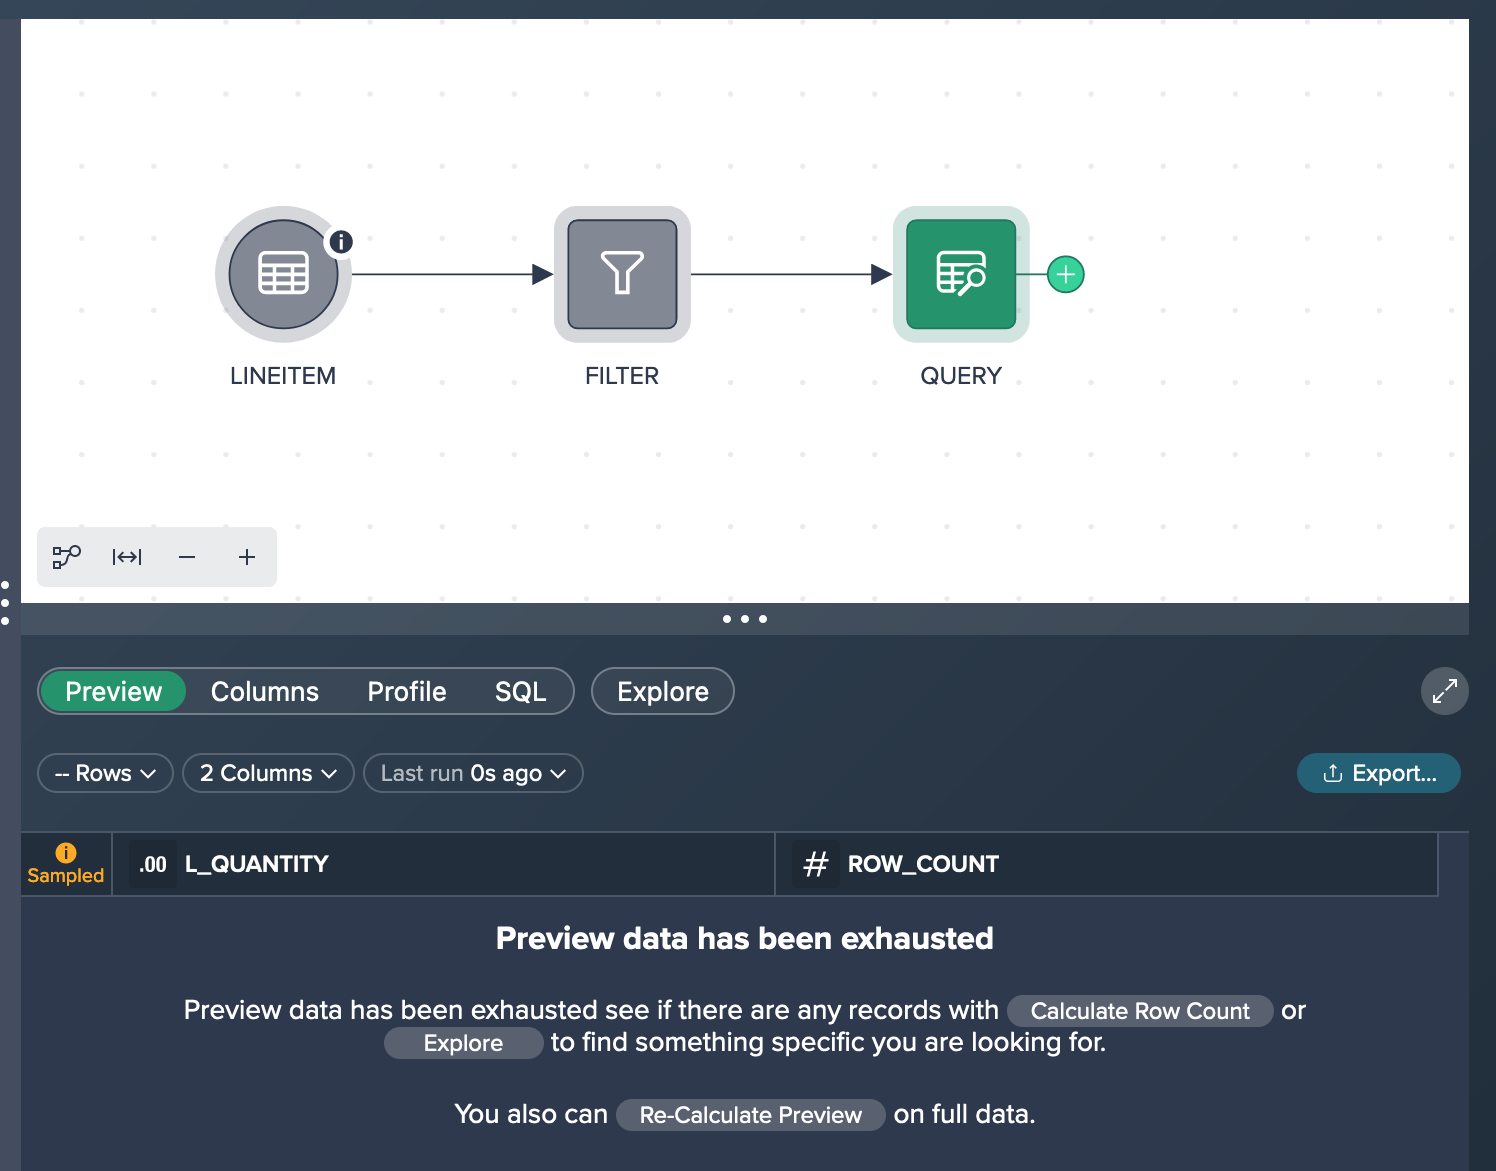
To address this, the next step is to create a new query node based on the empty preview node. However, due to the large size of the input dataset, the query execution time was slow when modifying the Query Builder configuration, and the resulting preview remained empty. To overcome these challenges, node caching can be utilized for the preceding node, resolving the problem at hand.
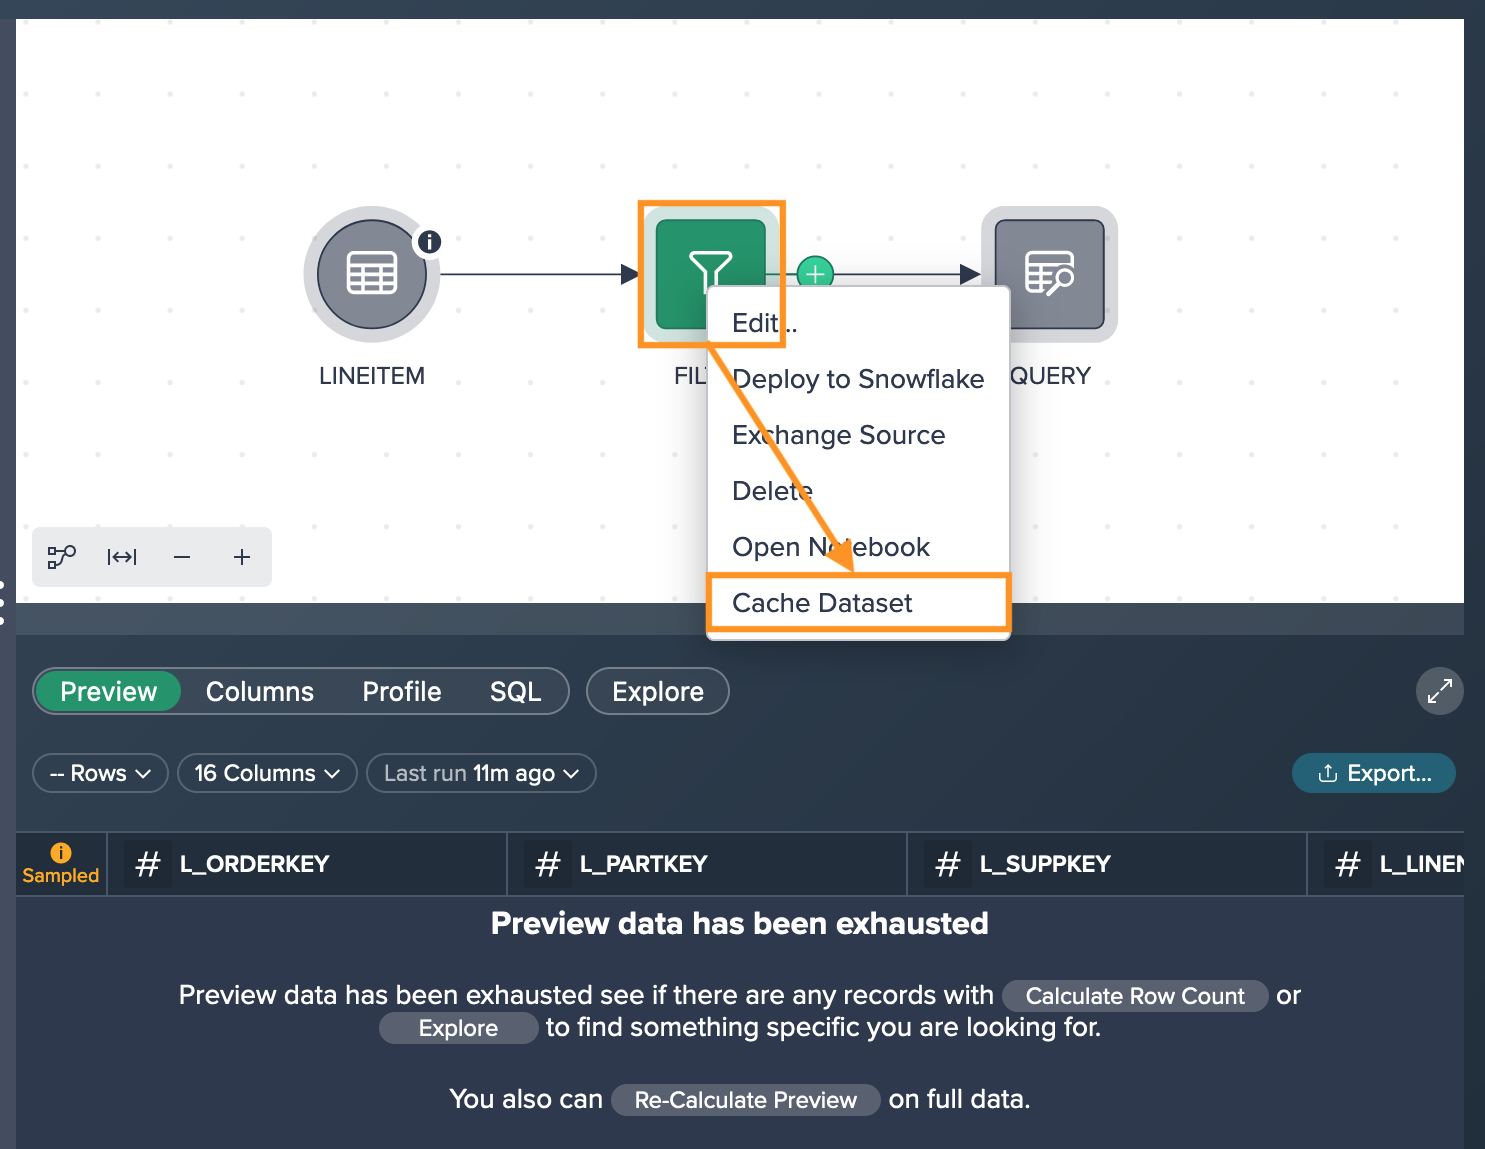
Right-click on the large and sampled node and select "Cache Dataset".
With the preview node being cached, you can now see the resulting preview and further downstream transformation previews will be much faster to compute.
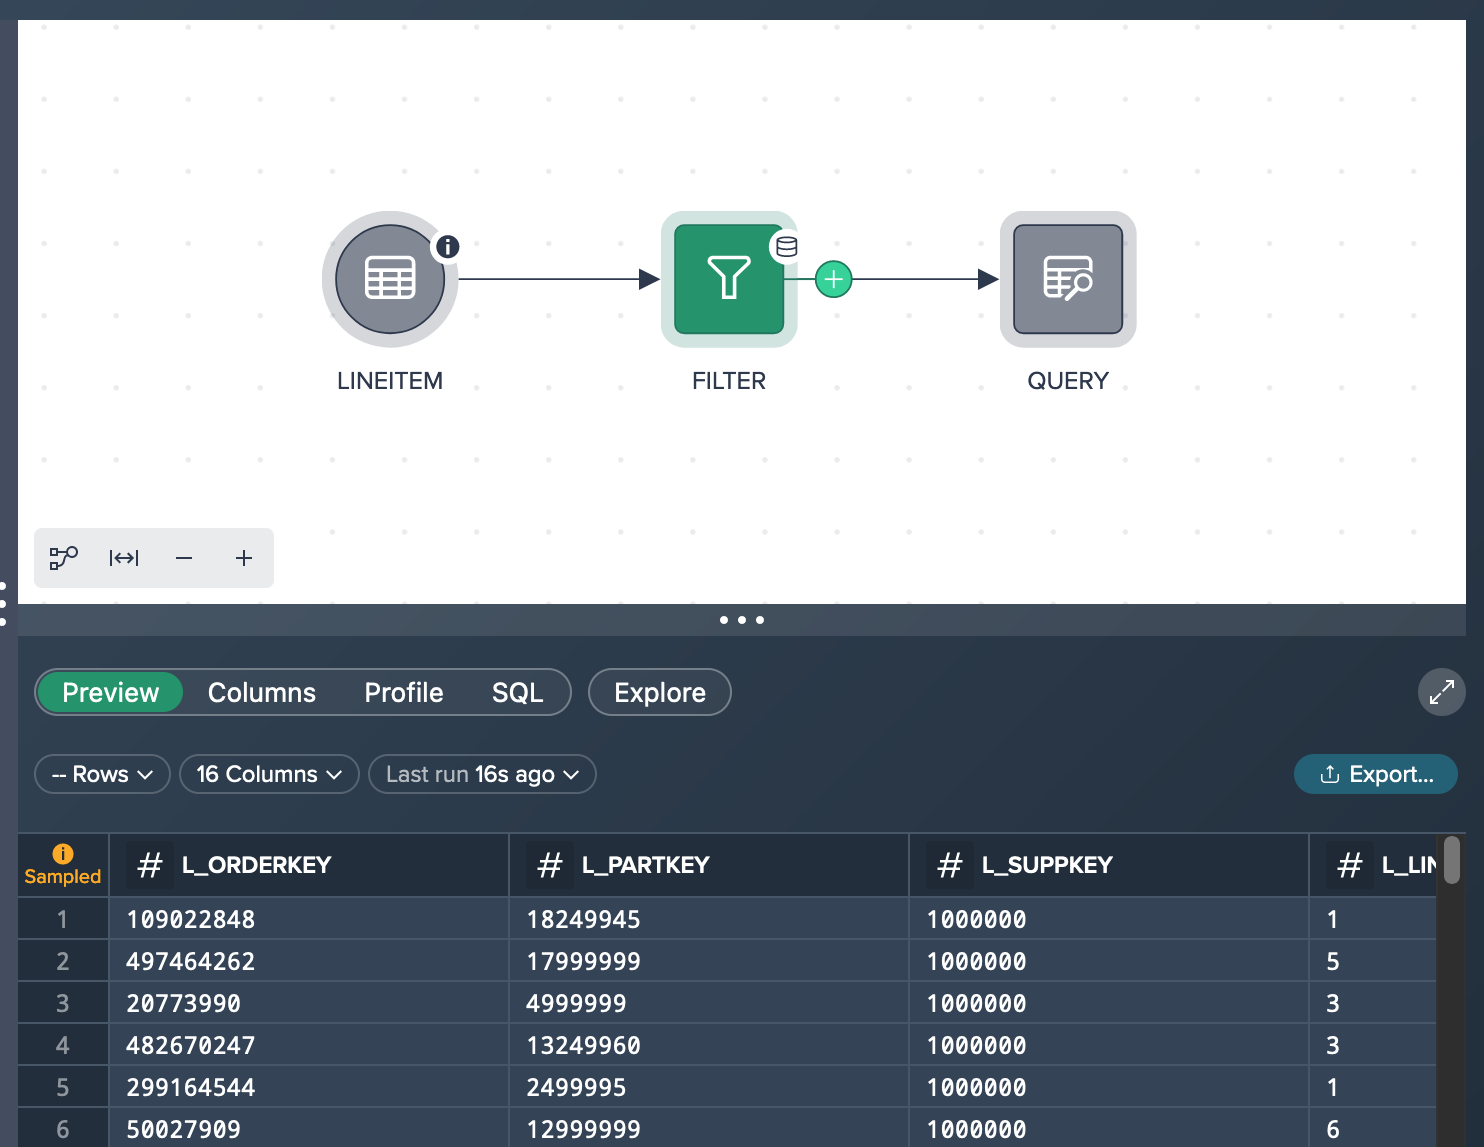
Please take note that when a node is cached in the Workspace, you will see a cylinder icon located in the top right-hand corner of the node. This indicates that all subsequent preview and exploration calculations will utilize the cached dataset. It's important to note that the cached dataset is specific to the user and is not employed during pipeline execution, such as when creating or refreshing an output table.
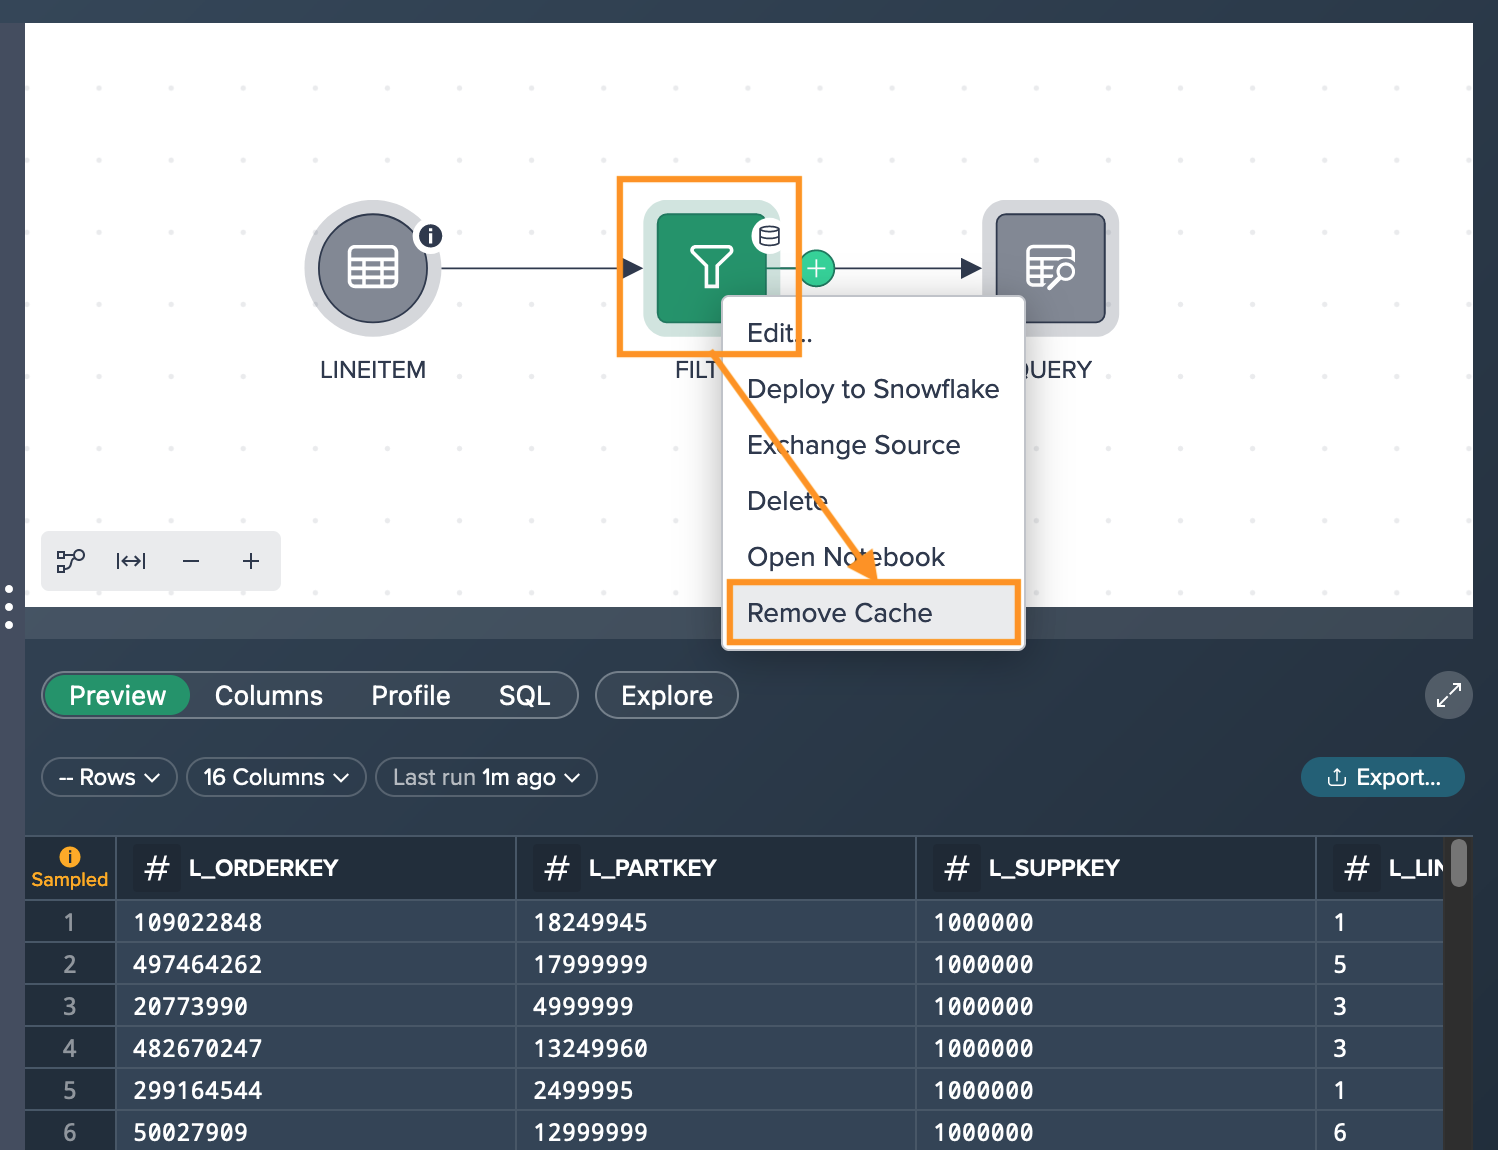
Removing the Cached Data#
When a node is cached, all subsequent nodes will utilize the cached data for generating previews and conducting explorations. However, it's important to note that if there are any changes to the upstream datasets (the source datasets of the cached node), such as the addition of new rows or modifications to the dataset schema, those changes will not be reflected in the cached data. In order to observe these changes in the downstream datasets, the cached data will need to be cleared or removed.
To remove cached data, right-click on the node and select "Remove Cache".