Environments
Creating a Job Environment#
Creating jobs require creating an environment first. The settings can be configured in the 'ENVIRONMENT' tab.
To create an environment:
-
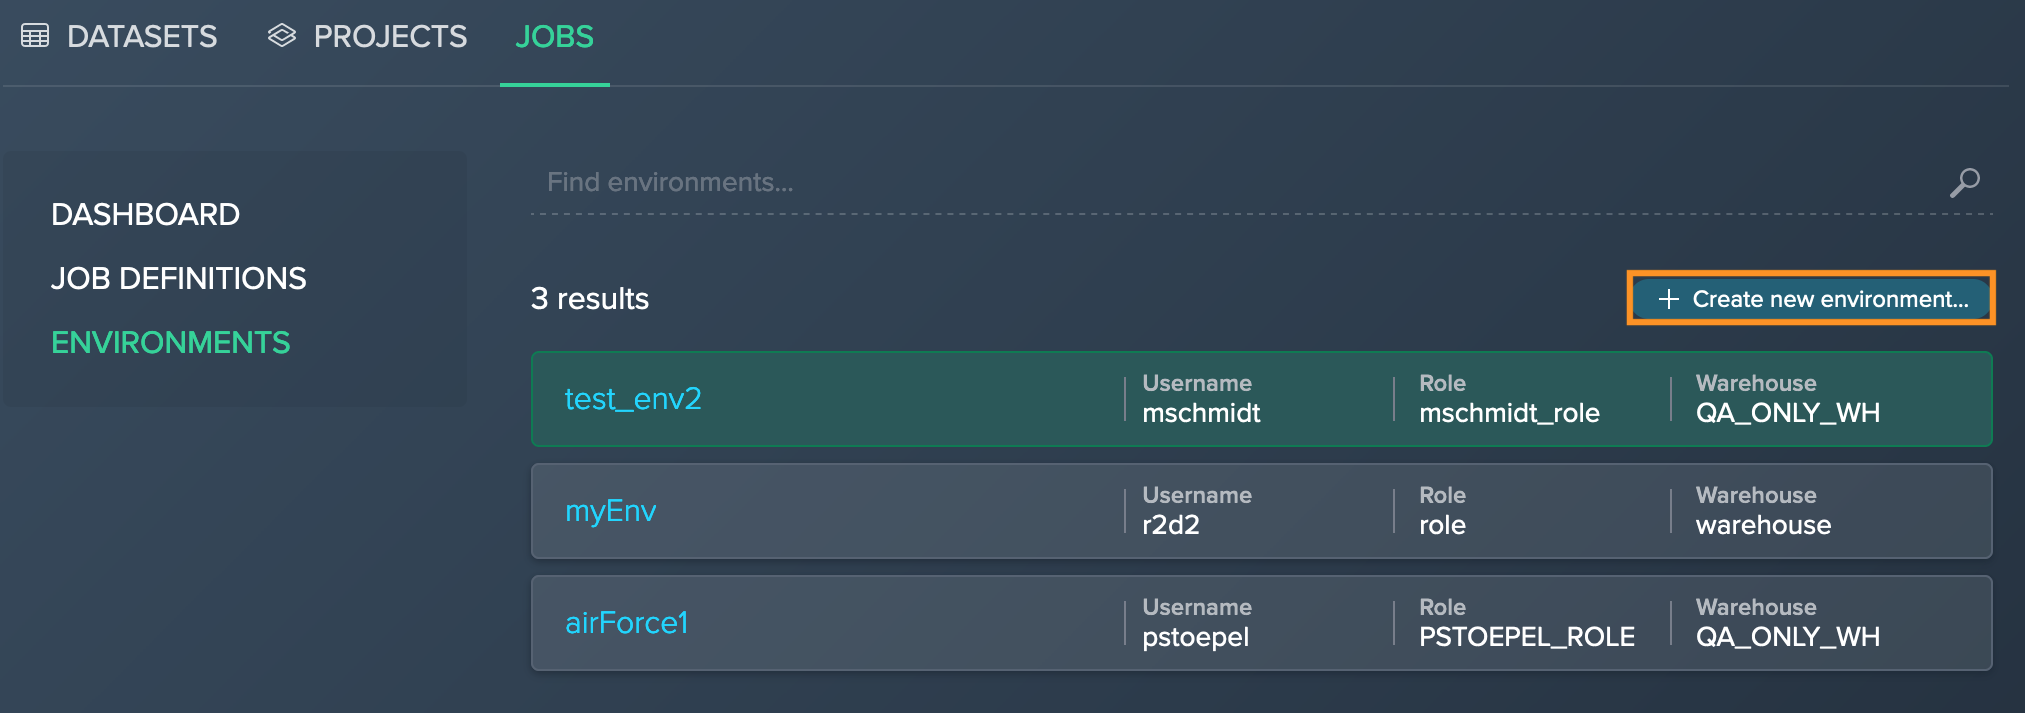
Click on "+ Create new environment". The dialog 'Create New Environment' opens.
-
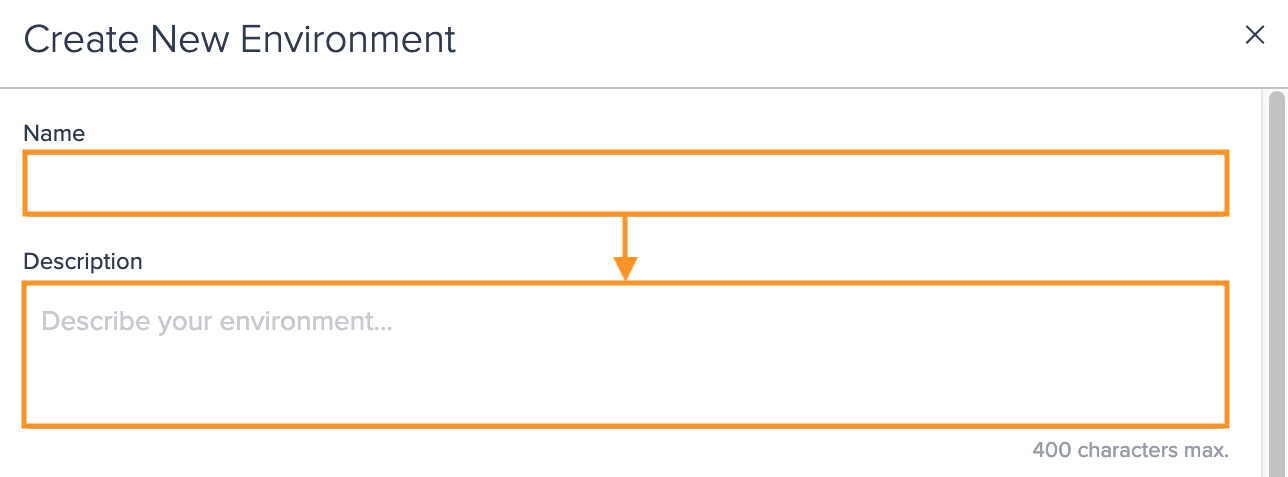
Enter the initial environment name and add a description.
-
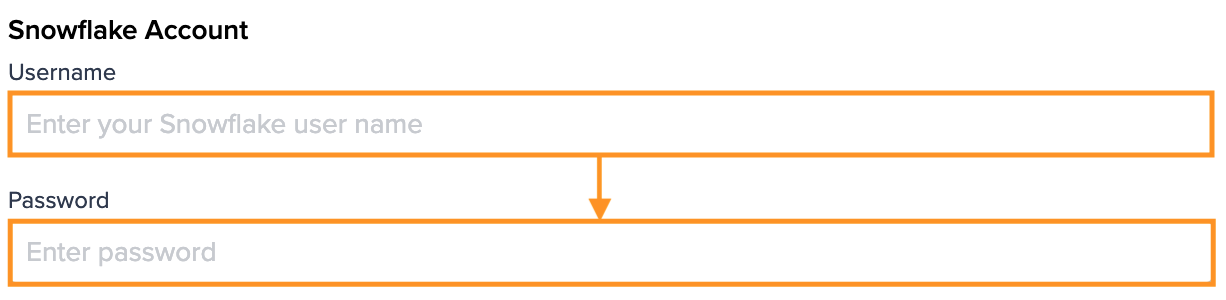
Enter the Snowflake username and the Snowflake password.
-
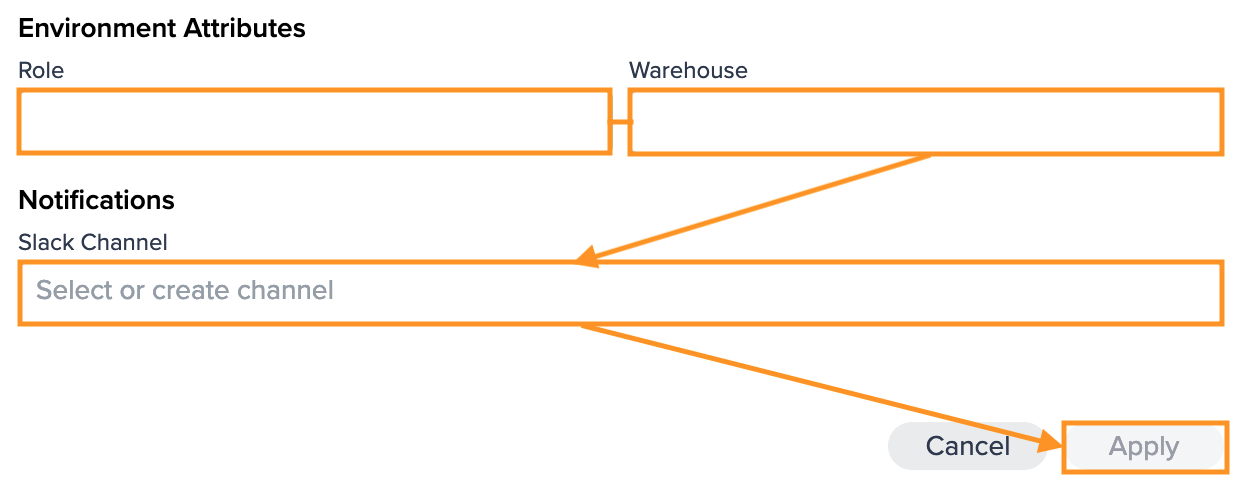
Enter the role and warehouse and select your Slack channel or create a new one to receive notifications. Confirm your configuration with "Apply". The configuration applies. The new environment is listed.
Editing a Job Environment#
To edit a job environment:
-
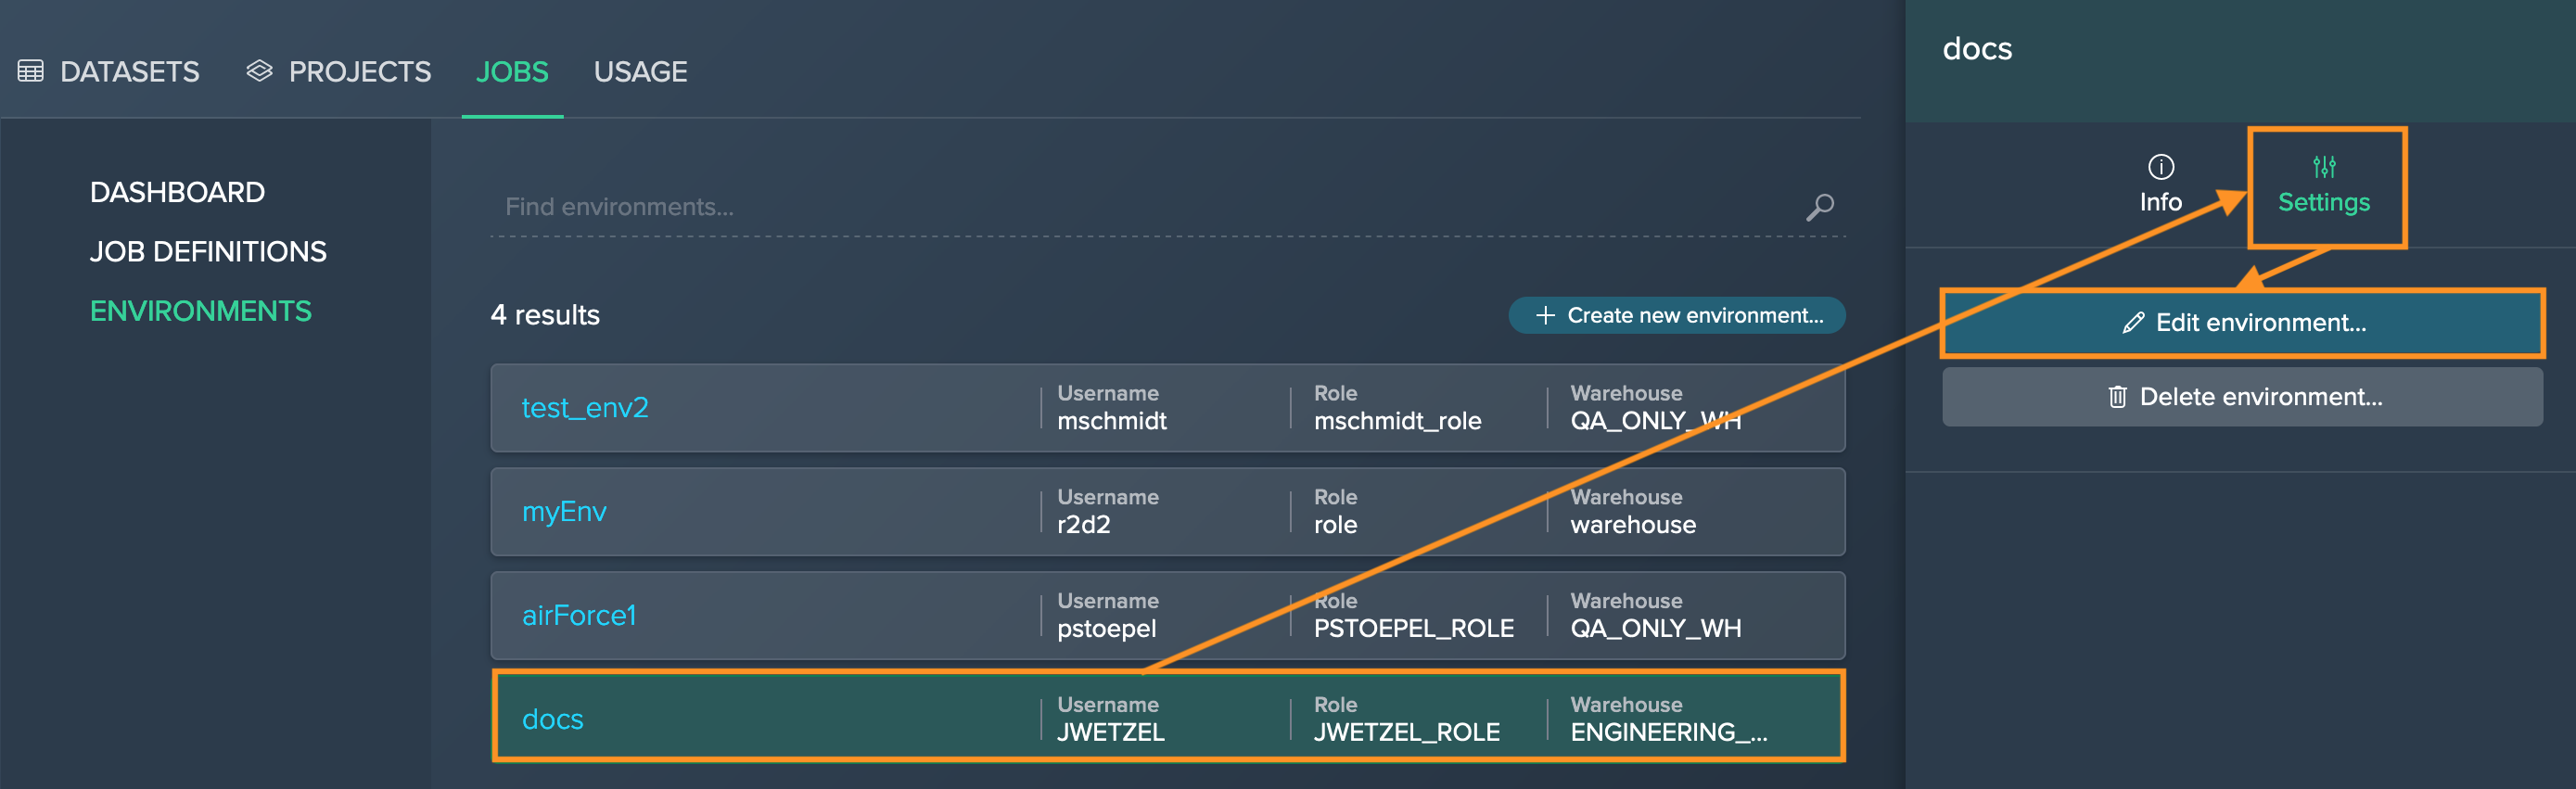
Select the environment card from the list, in the Inspector click on the tab "Settings" and click on "Edit enviroment...". The dialog 'Edit Environment' opens.
-
Make your adjustments and confirm with "Apply". The dialog closes. The adjustments apply. Editing the job environment is finished.

Deleting a Job Environment#
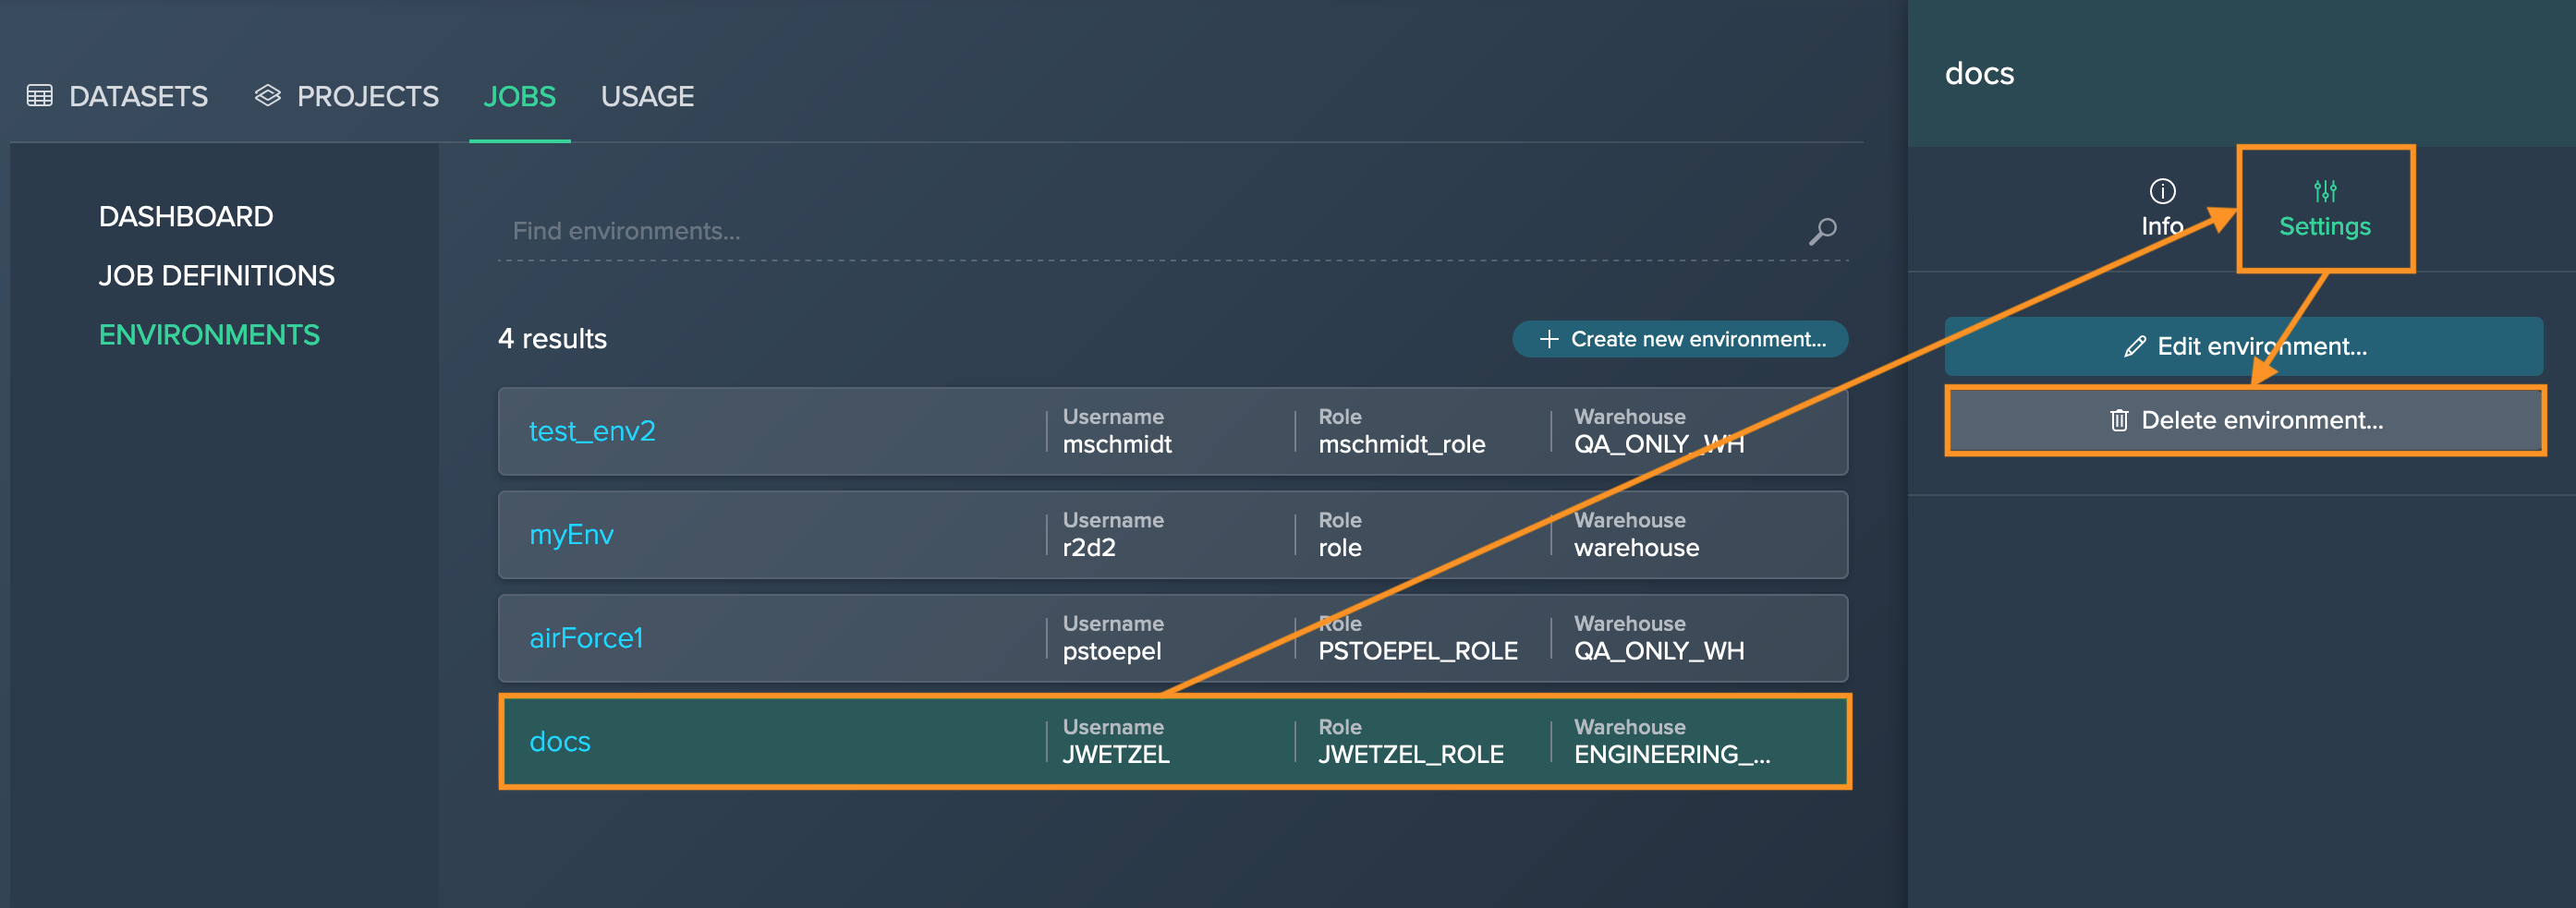
INFO: Please note that as long as there are associated jobs to a job environment, the environment can not be deleted. In this case, you have to delete the job first.
To delete a job environment:
-
Select the environment card fron the list, in the Inspector click on the tab "Settings" and click on "Delete environment...". The dialog 'Delete Environment' opens.
-
Confirm with "Press & Hold to Delete!". The dialog closes. The environment is deleted.