Uploading Files#
Use a file upload to bring data from a file on your desktop into Spectrum on a one time basis. That data is then stored in HDFS with an explicit path in its configuration. For a specific single file, you can't upload a newer version. If you want to bring in a batch of files or schedule regular imports to update your data, consider using an import job instead.
You can upload files such as CSV files or any of the other supported file types including compressed (ZIP) files.
Creating a File Upload#
To upload files:
-
Click the "+" button and then "File Upload" or right-click in the navigation bar and select "Create new" > "File Upload".
-
Click "Browse" and navigate to the file you want to upload and click "Open".
-
Select the file type from the list and click "Next".
-
Enter the data details if needed and click Advanced to enter additional options. The choices vary depending upon the file type you selected. INFO: Obfuscation is available with Spectrum's Advanced Governance module.
-
In the "Encryption" section, select which columns to obfuscate by entering the column names with a space between them. The data of columns you obfuscate is never pulled into Spectrum. Click "Next".
-
If there were errors, you can view the log file or a sample of the raw data to help resolve the problem. Specify whether empty fields are accepted. The "Empty value placeholders" section gives you the ability to assign specific values as 'NULL'. Values added here aren't imported into Spectrum.
-
Specify how to handle invalid records and click "Next".
-
Enter a description and click "Save As".
-
Name the file and click "Save".
Editing an Uploaded File#
To edit an uploaded file:
-
Click the "File Browser" tab.
-
Click "File Uploads" from the navigation bar on the left side of the screen.
-
Right-click the uploaded file you want to edit and click "Open".
-
Make your changes and click "Next" to move through the wizard.
-
Click "Save" when you are finished.
Duplicating a File Upload#
To duplicate a File Upload:
-
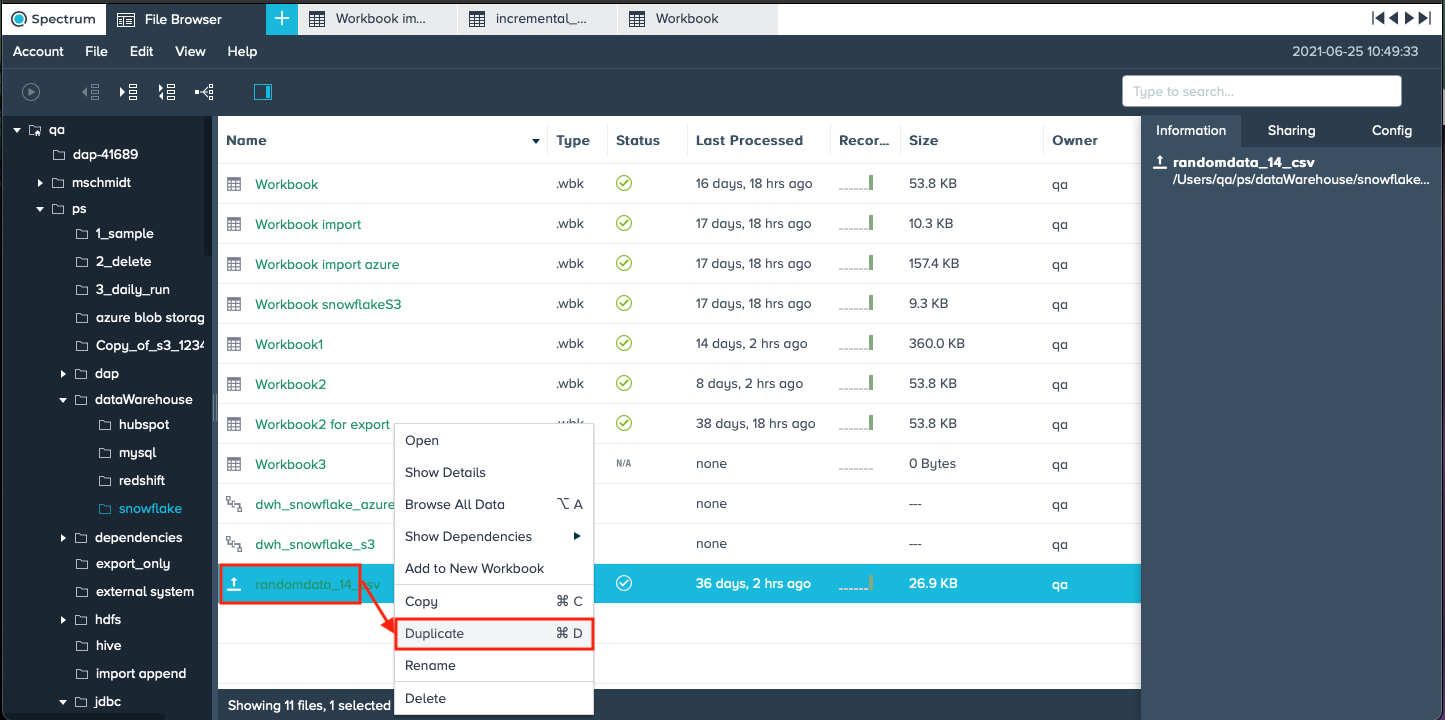
Right-click the File Upload artifact you want to dupliate and select "Duplicate". The dialog 'Duplicate: File Upload' opens.
-
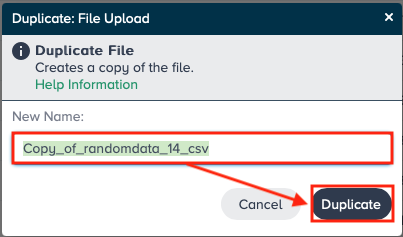
Rename the new file and confirm with "Duplicate". The duplicated file is displayed in the File Browser.
Deleting an Uploaded File#
The delete feature deletes the file upload in Spectrum but doesn't delete the actual data.
To delete an uploaded file:
-
Click the "File Browser" tab.
-
Click "File Uploads" from the navigation bar on the left side of the screen.
-
Right-click the uploaded file you want to delete and click "Delete".
-
Click "OK" and confirm the deletion.
Linking Data to a New Workbook#
You can link data to a new Workbook.
To link data to a new Workbook:
-
Click the "File Browser" tab.
-
Click "File Uploads" from the navigation bar on the left side of the screen.
-
Double-click the uploaded file name to link into a new Workbook.
-
Click "Link Data in New Workbook".
-
The data is loaded into a new Workbook.
File Upload Size Limits#
There is no size limit for a file upload though large file uploads might lead to performance problems. The maximum supported file upload size is 500 MB.
Viewing the Uploaded File Size and Monthly Upload Sizes#
You can view the count of processed bytes for each upload and their total volume counting towards the license term.
To view the processed bytes per single job execution and totals for that job configuration of uploaded files:
-
Click the "File Browser" tab.
-
Click "File Uploads" from the navigation bar on the left side of the screen.
-
The size of last job run is displayed first and the total for that job configuration is displayed in the next column.
INFO: If a new license term starts and the file upload is processed again, the count starts with a new total processed data amount.
Identifying Workbooks Affected by a File Upload Schema Change#
Spectrum gives you a notice when editing a file upload if a schema change affects a corresponding Workbook.
To view which Workbooks are affected by a schema change from the uploaded data:
-
Complete the file upload configuration until reaching the 'Save' section.
-
Review the note box detailing the changes that this configuration save has on the previous save and which Workbooks are affected.
-
Check the box to email users of the Workbooks that are affected by the new schema changes.