Exporting via an Export Sheet#
Find here all information about using the Export Sheet for exporting to a Snowflake Data Warehouse.
INFO
You can create an Export Sheet to expose data to a Snowflake Data Warehouse instance. Creating a whole separate export job is not needed. The configuration is being executed within the Workbook.
Creating an Export Sheet for Snowflake#
To create an Export Sheet:
-
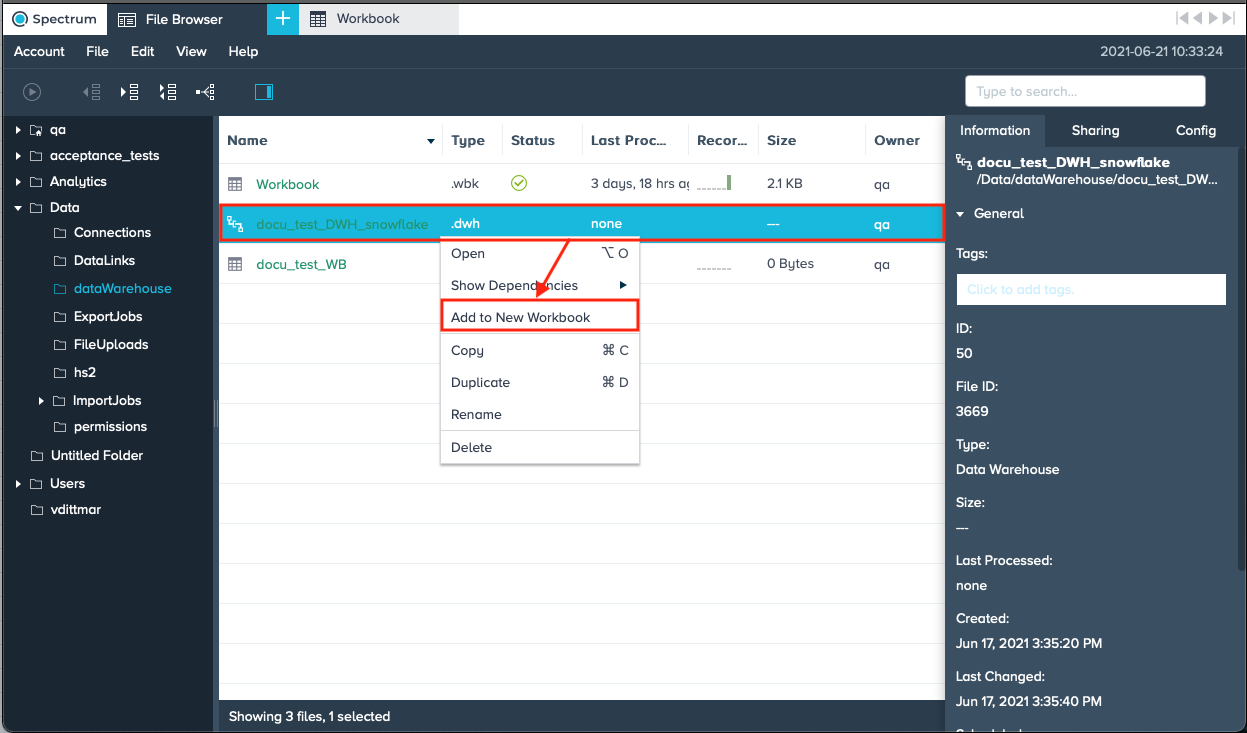
Right-click the Data Warehouse in the File Browser and select "Add to New Workbook". A new Workbook opens and the dialog 'Add Data Warehouse Sheet' is displayed.
-
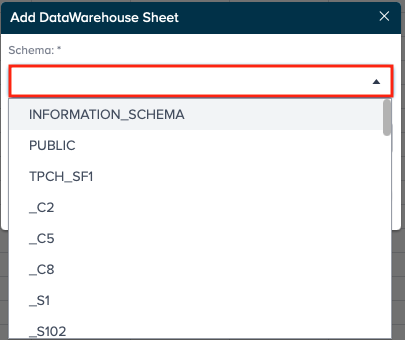
Select the "Schema" from the drop-down. The corresponding datasets are loaded.
-
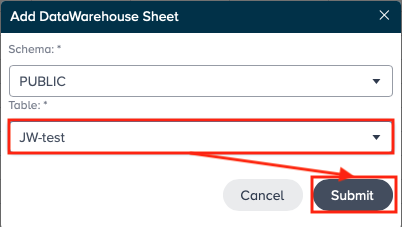
Select the "Table" from the drop-down and confirm with "Submit". The new Workbook is loaded.
-
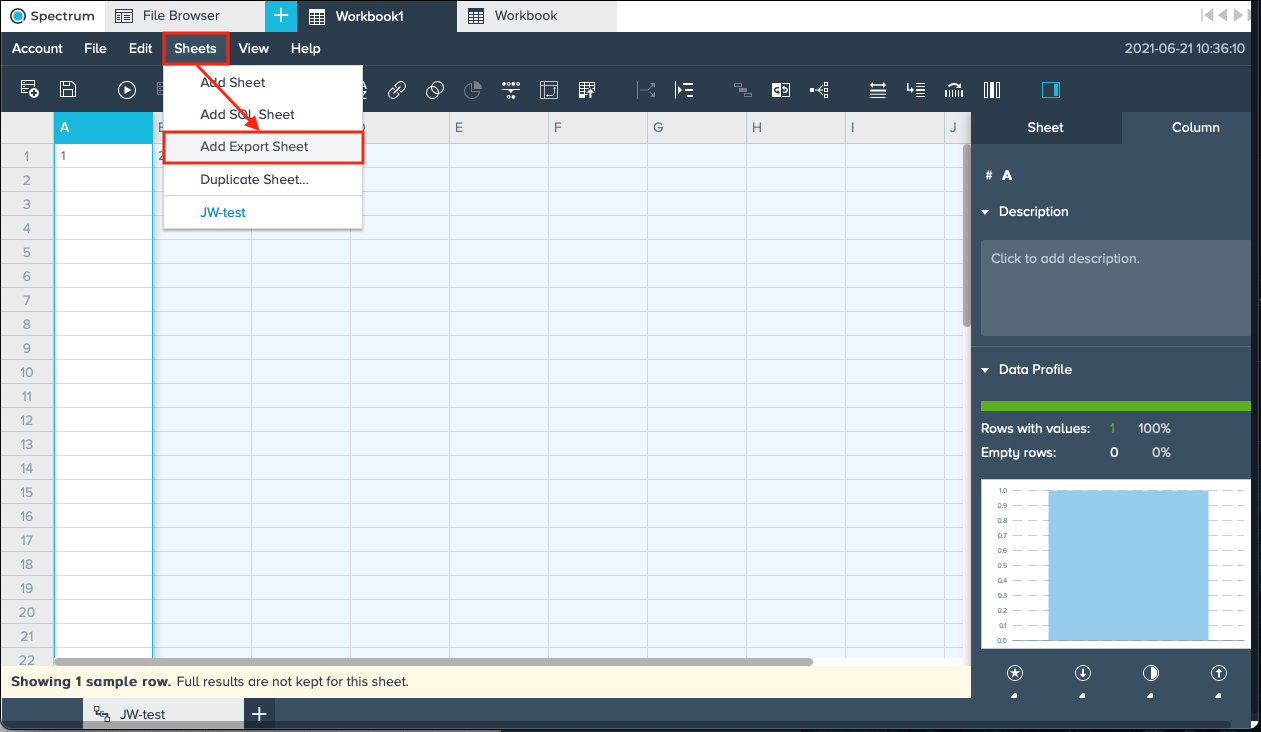
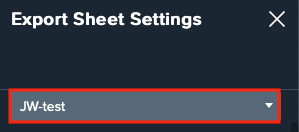
From the Workbook menu bar select "Sheets" -> "Add Export Sheet". The 'Export Sheet Settings' open on the right side.
-
Select the "Source Sheet" from the drop-down.
-
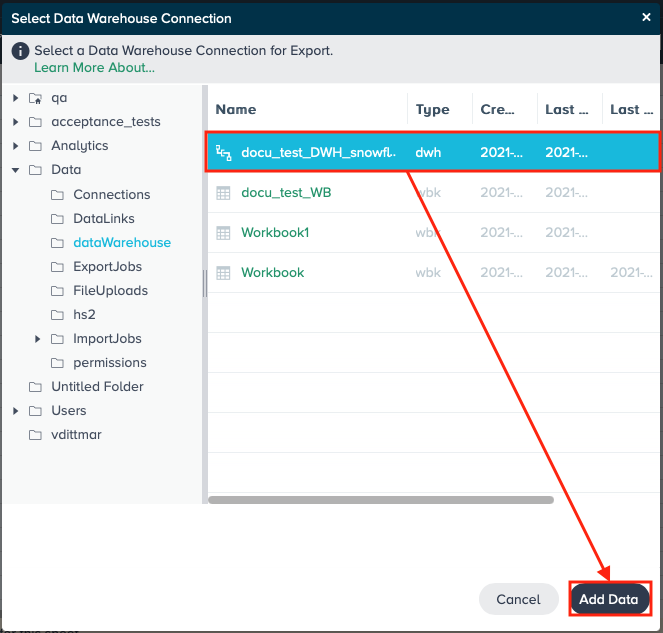
Select the "Data Warehouse Connection" by clicking on "Select". The dialog 'Select Data Warehouse Connection' opens.

-
Select the "Data Warehouse" and confirm with "Add Data".
-
If needed, enter the "Warehouse" name.
-
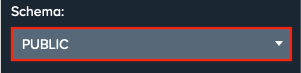
Select the "Schema" from the drop-down.
-
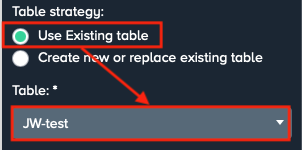
Decide which table strategy to follow: Mark "Use existing table" to use an already existing table in your Snowflake instance and select the table from the drop-down. Or mark "Create new or replace existing table" to create a new table and replace the table when having the Export Sheet run the second time. For that enter the name of the new table.

-
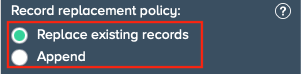
Decide about the record replacement policy: Select "Replace existing records" to replace the already existing records. Or select "Append" to append only additional records to the existing table.
-
Confirm with "Create". Configuring the Export Sheet is finished.
