Setup on Amazon Web Services#
Spectrum Administrators can receive and setup Spectrum on an Amazon Web Services environment.
Prerequisites#
As a new user, you will have a 14 days trial license to try out the functionalities and features of Spectrum. After finishing the 14 days trial, you can purchase the production license to preserve the already done work.
The following prerequisites are given:
- an AWS account with access to the AWS Marketplace
- permission to create instances
Setting up Spectrum in AWS#
To deploy a Spectrum instance:
-
Login to your AWS account and switch to the AWS Marketplace.
-
Search for "Datameer Spectrum" in the search bar and select it.
-
Click on "Continue to Subscribe".
-
Read and accept the terms and conditions with "Accept Terms".
-
Click on "Continue to Configuration".
-
Locate the desired "Region" from the drop-down. We recommend to select the region you reside.
-
Click on "Continue to launch".
-
Select "Launch from Website" as the launch type and the needed EC2 type from "EC2 Instance Type"
-
Configure the "VPC Settings": Select the VPN from the drop-down. Note that if you don't have a VPC set up, you can create a new VPC via "Create a VPC in EC2". Refer to Amazon Virtual Private Cloud Documentation for instructions.
-
Configure the "Subnet Settings". If you do not already have a subnet configured in your VPC, there is an option to create a new subnet. Refer to AWS VPCs and Subnets Documentation for more information.
-
Configure the "Security Group Settings" to control traffic to your instance: Click on "Create New Based On Seller Settings", enter the "Security Group" name, a "Description", select the sources for "HTTP" and "SSH" and confirm with "Save".
-
Configure the "Key Pair Settings" to secure direct access to the Datameer install. If you do not already have a Key Pair, you have an option to create a new one by clicking "Create a key-pair in EC2".
-
Confirm with "Launch". The launching process starts and takes some time.
-
Wait until the deployment is finished. A congratulations dialog is displayed. Setting up Spectrum is finished.
Accessing your Spectrum Instance Initially#
To access your Spectrum instance initially:
-
Click on "Usage Instructions". The dialog 'Usage Instructions' opens.
-
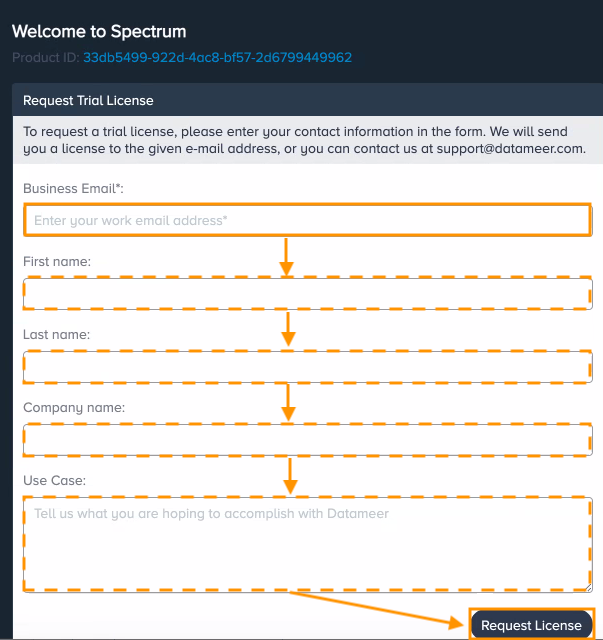
Copy the "Spectrum URL" from the Instance Description Panel and enter it in your browser. The 'Spectrum Request Trial License' page opens.
-
Enter your user information for at least "Business Email" and confirm with "Request Licence". Note that "First name", "last name", "Company name" and "Use Case" can be entered optionally. An email with the license key is sent to your business email address.
-
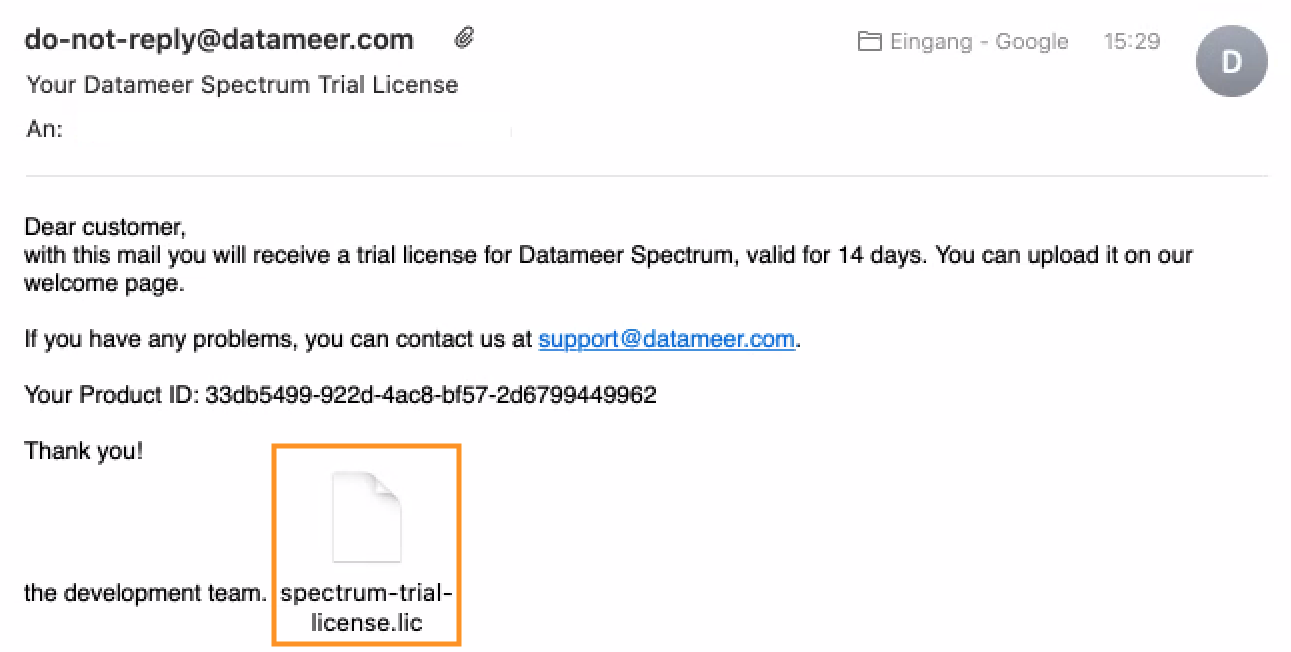
Download the license key from your email. Note that in case you have not received an email, please check your spam folder.
-
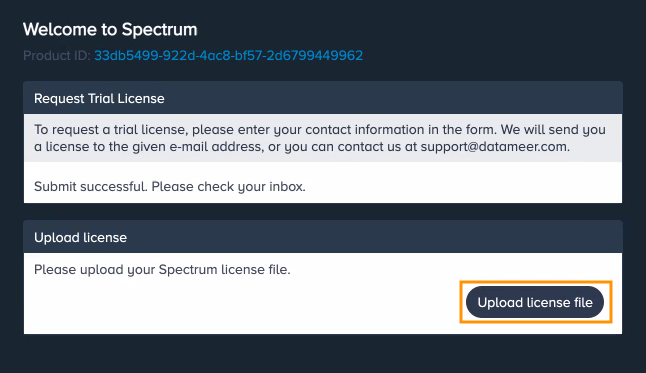
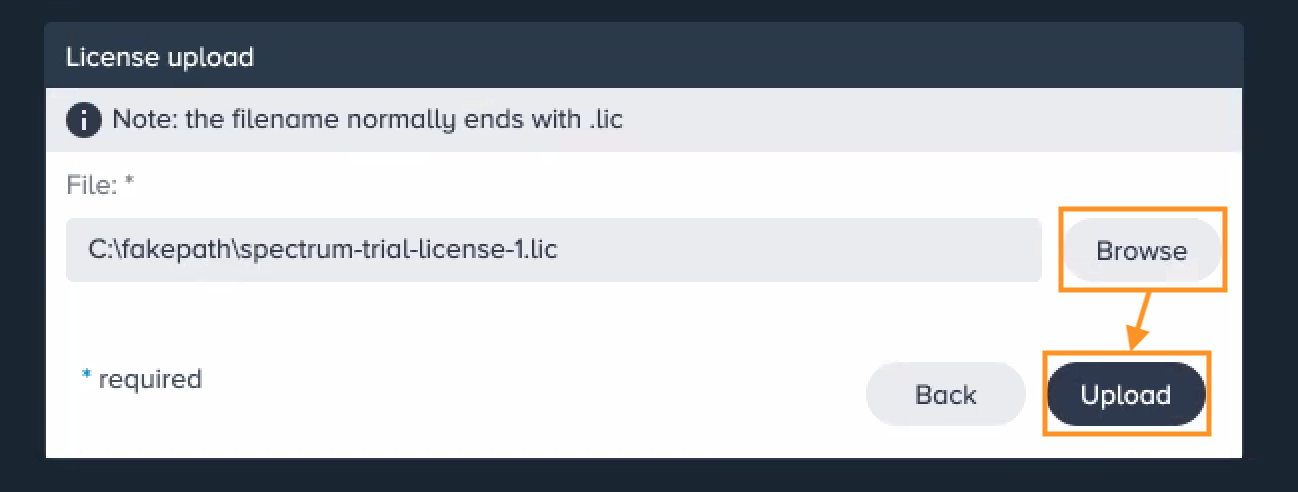
In the browser, click on "Upload licence file". *The dialog 'License upload' opens.
-
Browse for the license file and confirm with "Upload". The license gets activated. You are redirected to the Spectrum login page.
-
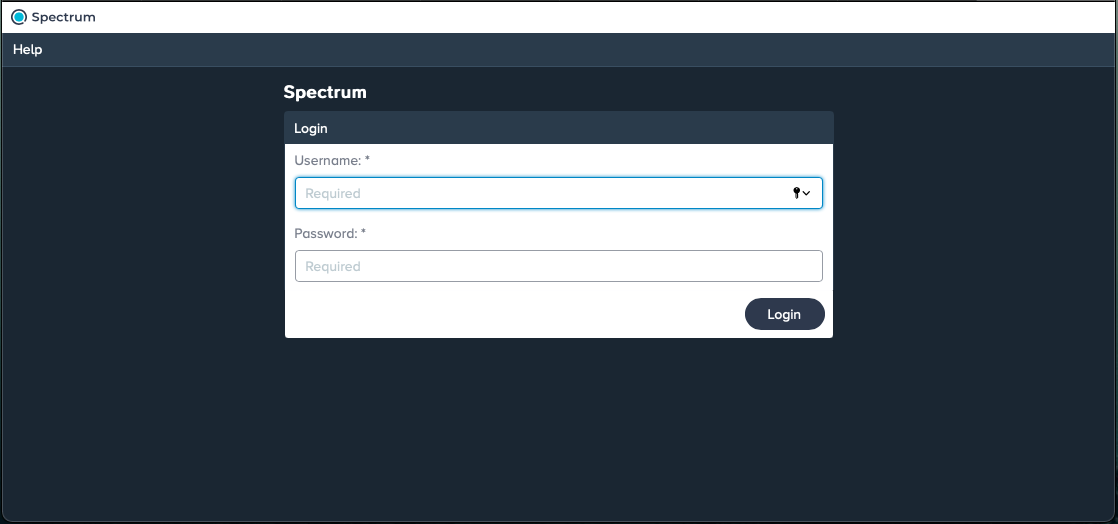
Enter the credentials from your 'Usage Instructions' page: Enter the "username" from 'Username' and the "password" from 'Password' and confirm with "Login". You are logged in and redirected to the File Browser.