Snowflake
Connect, import, and export to Snowflake, your cloud data warehouse.
All needed plug-ins come packaged with Datameer as of 7.1.6 and above. No additional database driver configuration is needed to connect to Snowflake.
If you are using a previous version of Datameer, contact your Datameer support representative for the following plug-ins.
- plugin-jdbc-v2
- plugin-s3
- plugin-snowflake
Configuring Snowflake as a Connection
In order to import and export from Snowflake, you must first create a connection.
- Click the + (plus) button and select Connection or right-click in the browser and select Create new > Connection.
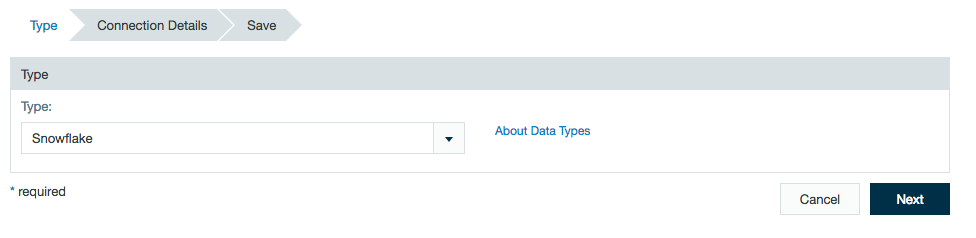
- From drop-down list, select Snowflake as the connection type.
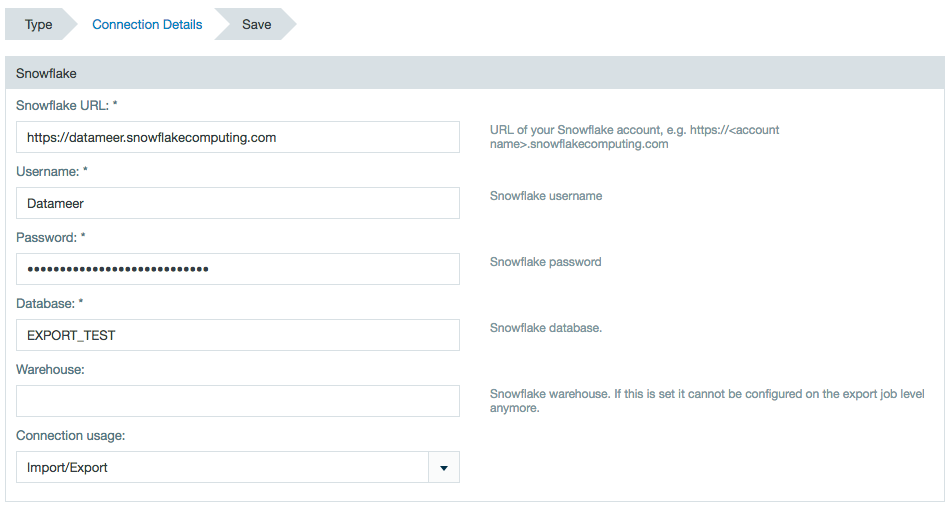
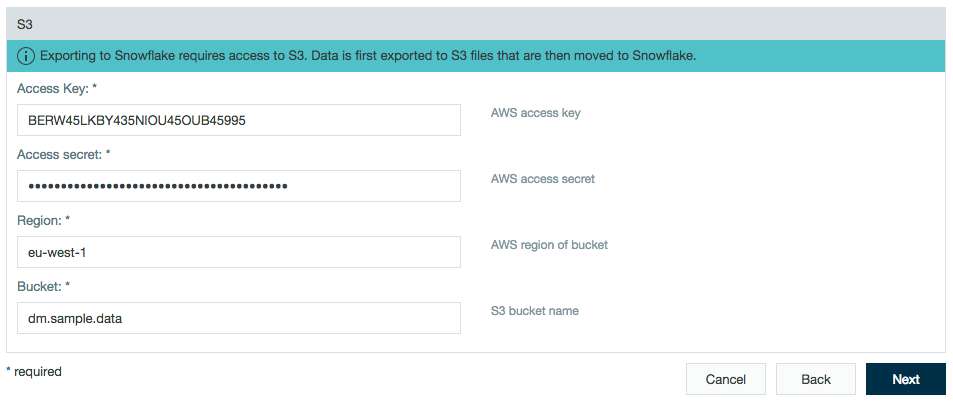
- Enter the Snowflake credentials and AWS S3 credentials.
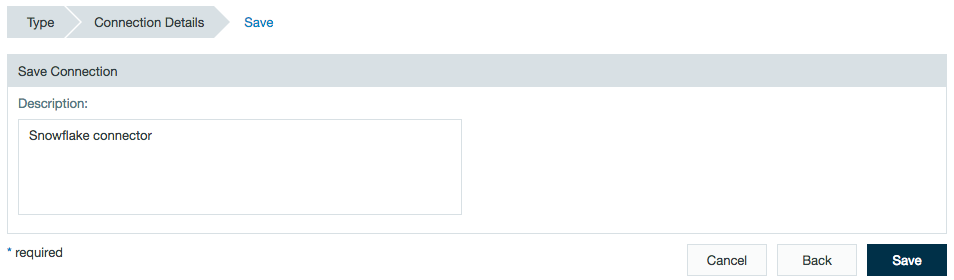
- If required, add a description and click Save.
Importing Data from Snowflake
After configuring a connection to Snowflake, you can set up an import job to access the connection.
- Click the + (plus) button and select Import Job or right-click in the browser and select Create new > Import job.
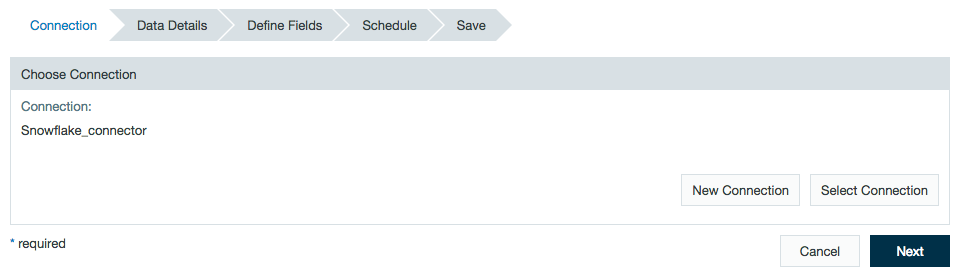
- Click Select Connection and choose the name of your Snowflake connection (here - Snowflake_connector) then click Next.
- The Snowflake database name is that set in the connector.
If not previously set from the connector, enter the Snowflake Warehouse name.
Select to import to a table or view and select the schema to be used.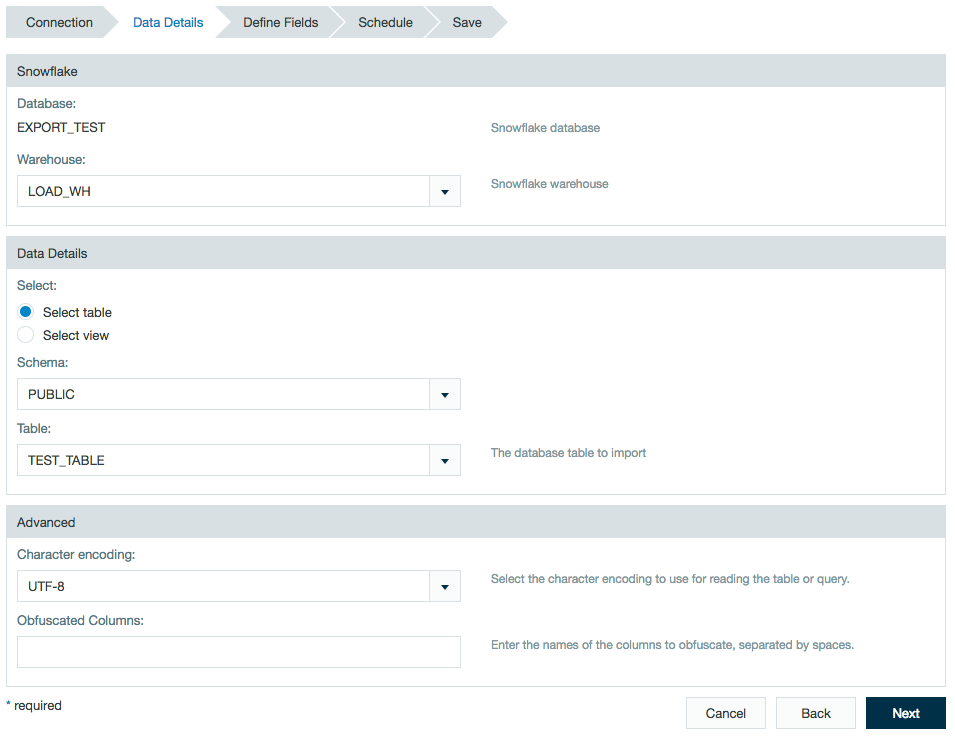
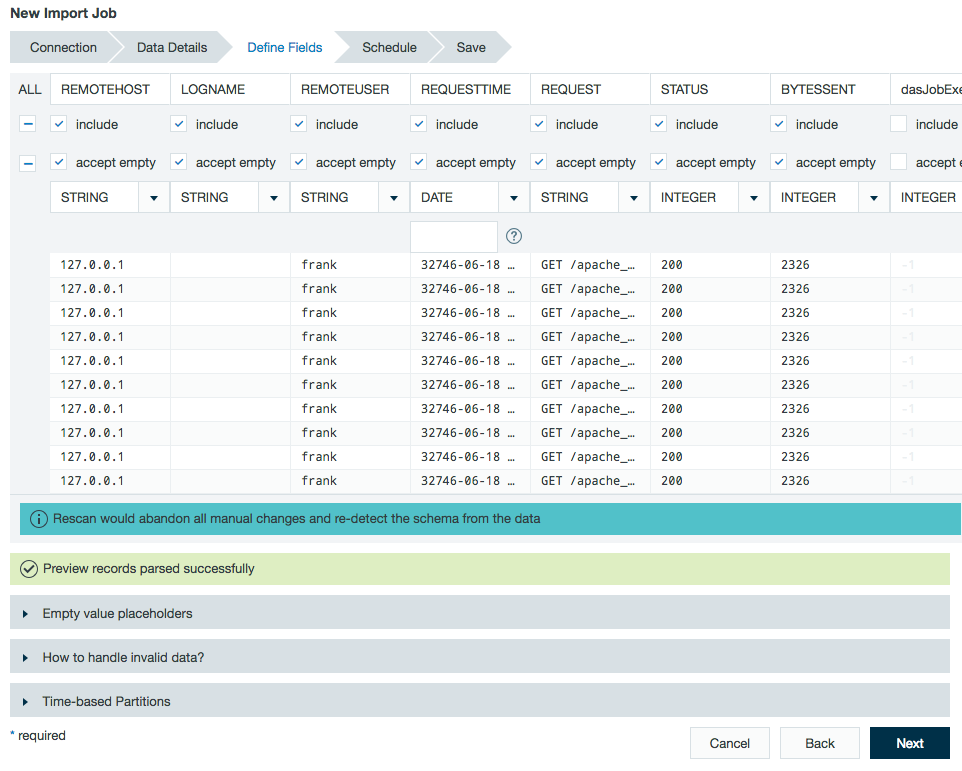
- A preview of the imported data is displayed. Review the schema and click Next.
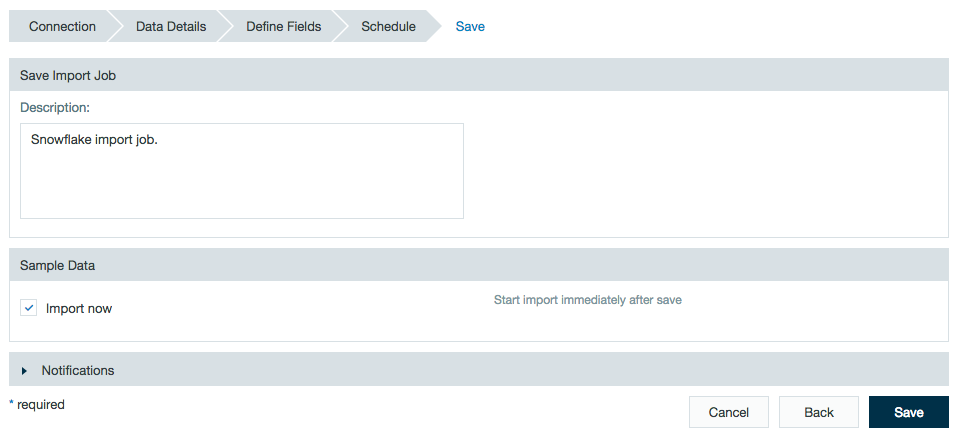
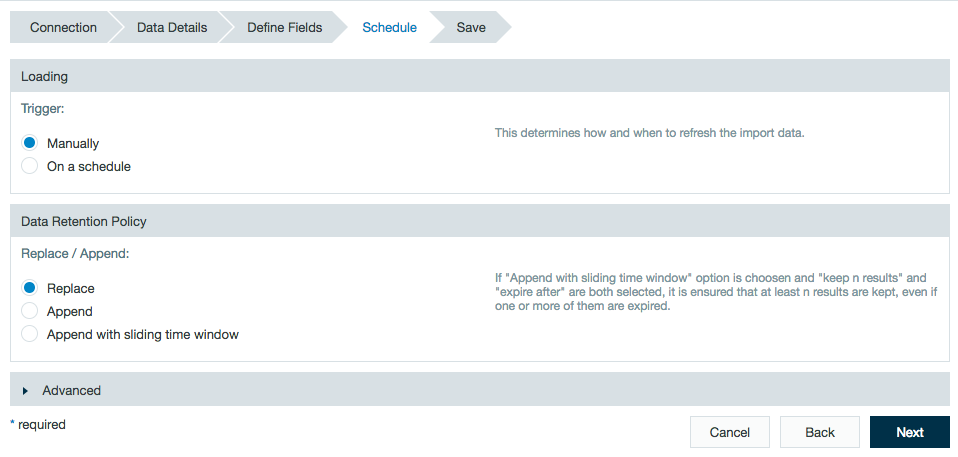
- Review the schedule, data retention, and advanced properties for the job.
- Add a description and check the box if you would like the import to start immediately after saving.
Click Save, and name the file.